Overview
Order Time allows you to customize email templates to fit your different correspondence needs. You have the option to select specific information types that you want to be part of the email template.
We have now made it so that email sending is disabled by default during the 30 day trial period. Contact us at support@ordertime.com and we can verify your identity to enable this feature in your trial sandbox.
Cloning Form Template
A system email template, where the ISCUSTOM button is not checked, cannot be deleted. The Body cannot be modified but you can change/edit the Name, Description and put a Subject. You can, however, clone any existing email template to use as a starting point.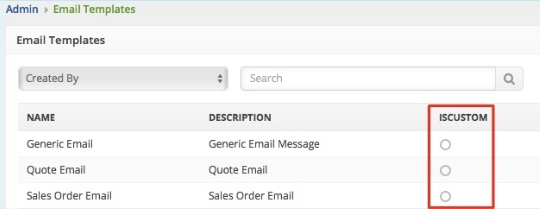
Cloning a form template is starting a new template. Below are the steps for setting up a new email template:
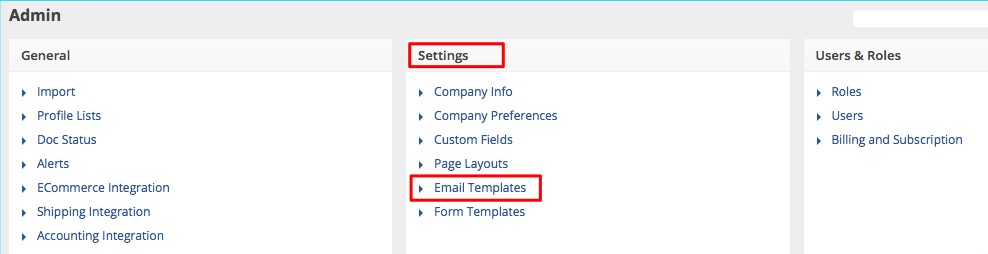
- Click the Gear icon.

- Under Settings category, click Email Templates.
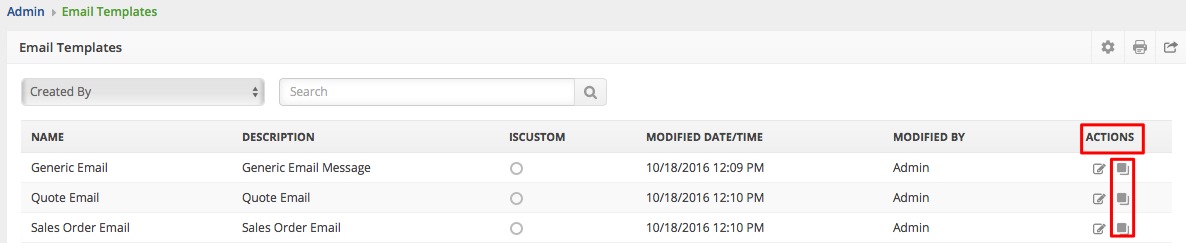
- Click the Clone Form Template icon.
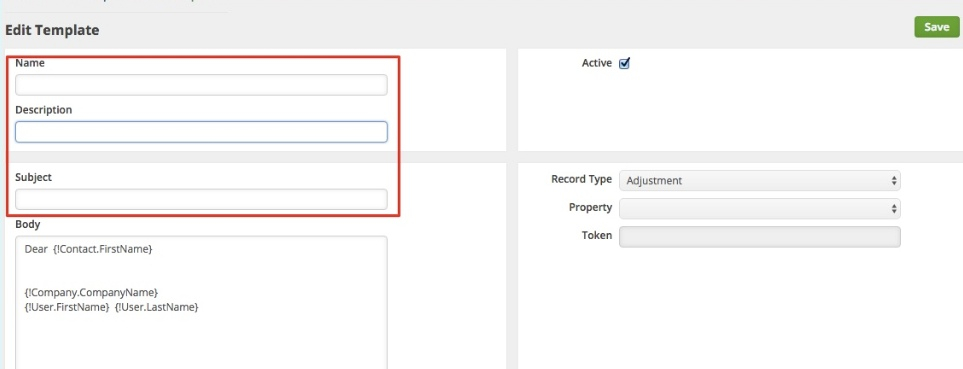
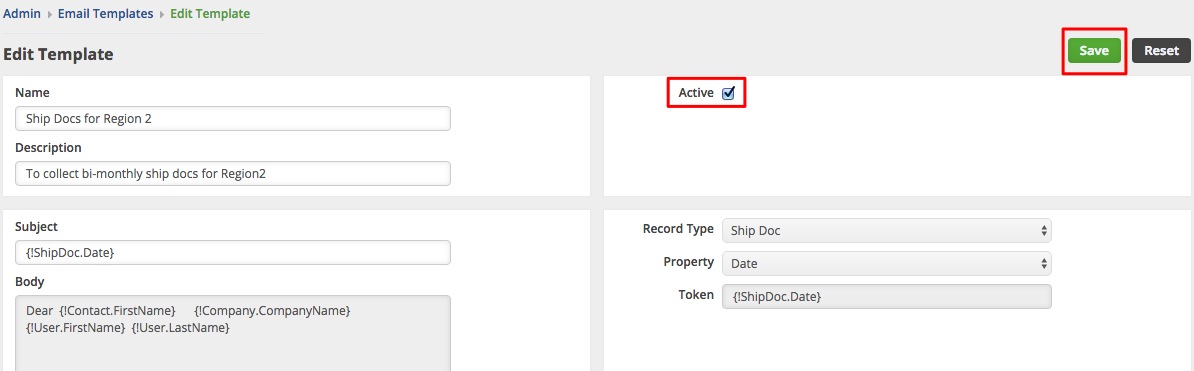
- On the Edit Template page, provide a Name for your template. Make the name of your template as intuitive as possible for easy reference.
- Enter a description in the Description field. Tip: You can use this field to briefly describe what is the template specifically for.
- Put a Subject in the field.
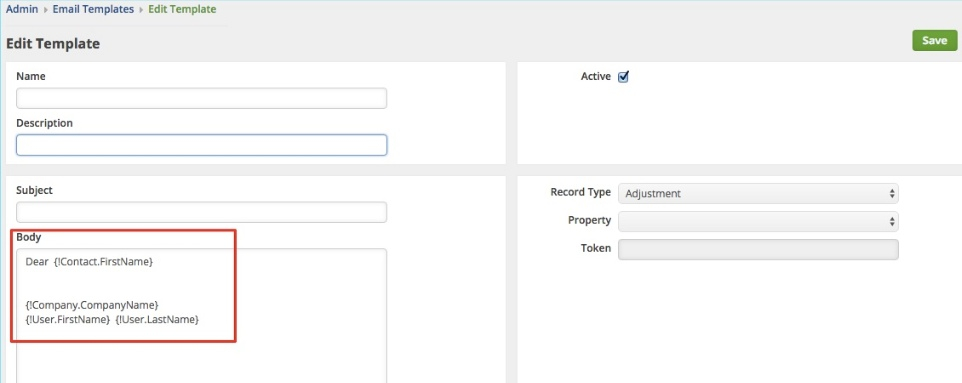
- Fill-out the body of the template.


- In the Body section, the following are available by default. You can change these information.
- Company Information
- User information of the one sending the email
- Contact which is only available for Customer, Leads and Sales Transactions - sales orders, quotes, ship docs and customer returns

8. To add information in the body of the template, select the Record Type from the picklist. When you choose the Record Type, make sure that it is relevant to the purpose of the template that you are creating and the type of information that you want to include in the body.
For example, if you are creating a template for POs, select Purchase Order from the Record Type picklist or if you are sending an estimated cost, you may want to choose Quote from the picklist.
9. Depending on what you select as your Record Type, the Property picklist will be updated with the attributes of that record type. Select the Property for the information that you want to include in the template and the corresponding Token will appear in the Token field. 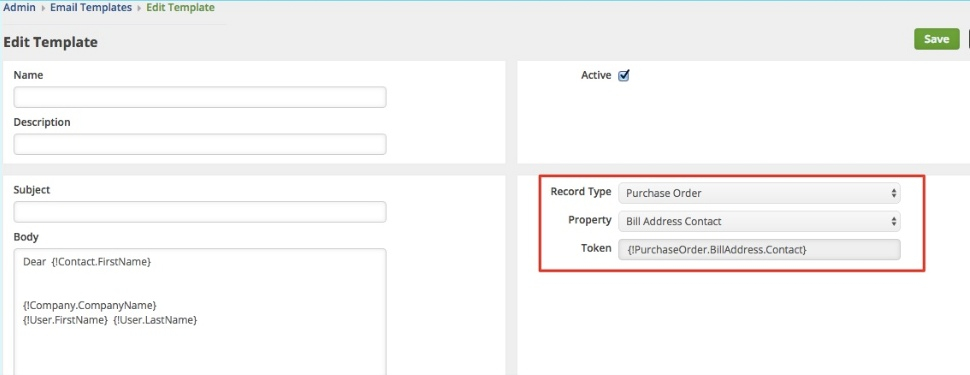
10. Drag and drop the Token in the Body field, specifically to complete the following parts of the body:
- Greeting
- Message Body
- Closing and sender information
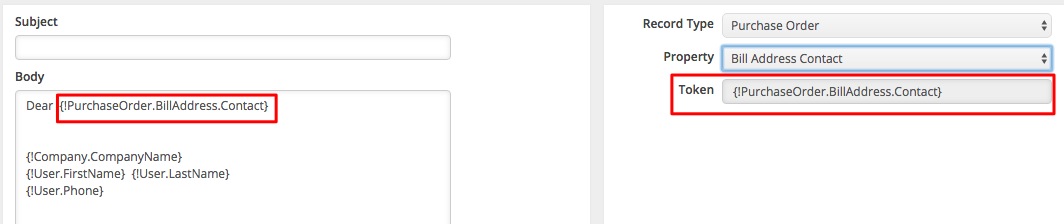

Note: You can also drag and drop the Token in the Subject field.
11. Type in additional details; and complete the rest of your message in the Body field.
12. Click Save. The new template will be available on Email Templates page.
The email template will be available as one of the template choices when you are sending email directly from Order Time.
>> Learn more about sending email from Order Time with this video
>> More info about Activities including Emails
Editing Email Template
Below are the steps for editing email templates:
- Click the Gear icon.
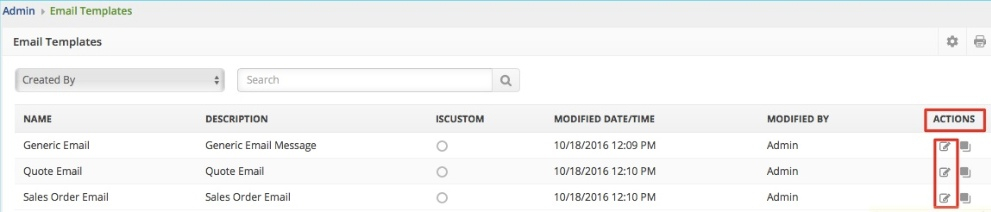
- Under Settings category, click Email Templates.
- Click the Edit Email Template icon.
- Make the necessary changes on the template. One change that you can make, if needed, is to tag the template from Active to Inactive or vice versa by selecting the checkbox.
- Click Save.


You can edit the Name, Description and Subject for all email templates, including system emails. However, you cannot edit the Body of the template.
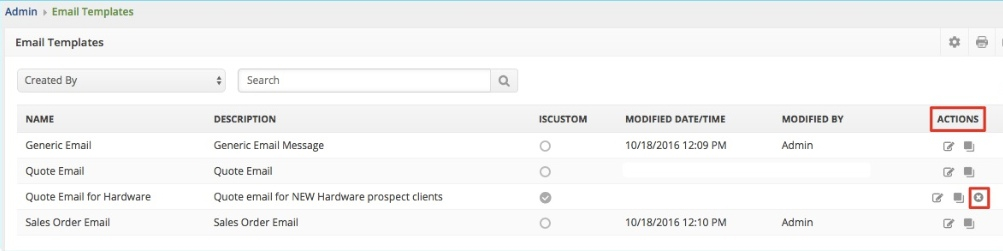
Note: You can also delete an email template by clicking the Delete icon on the Email Templates page.