Full Refunds
You can apply a Full Refund from any Payment
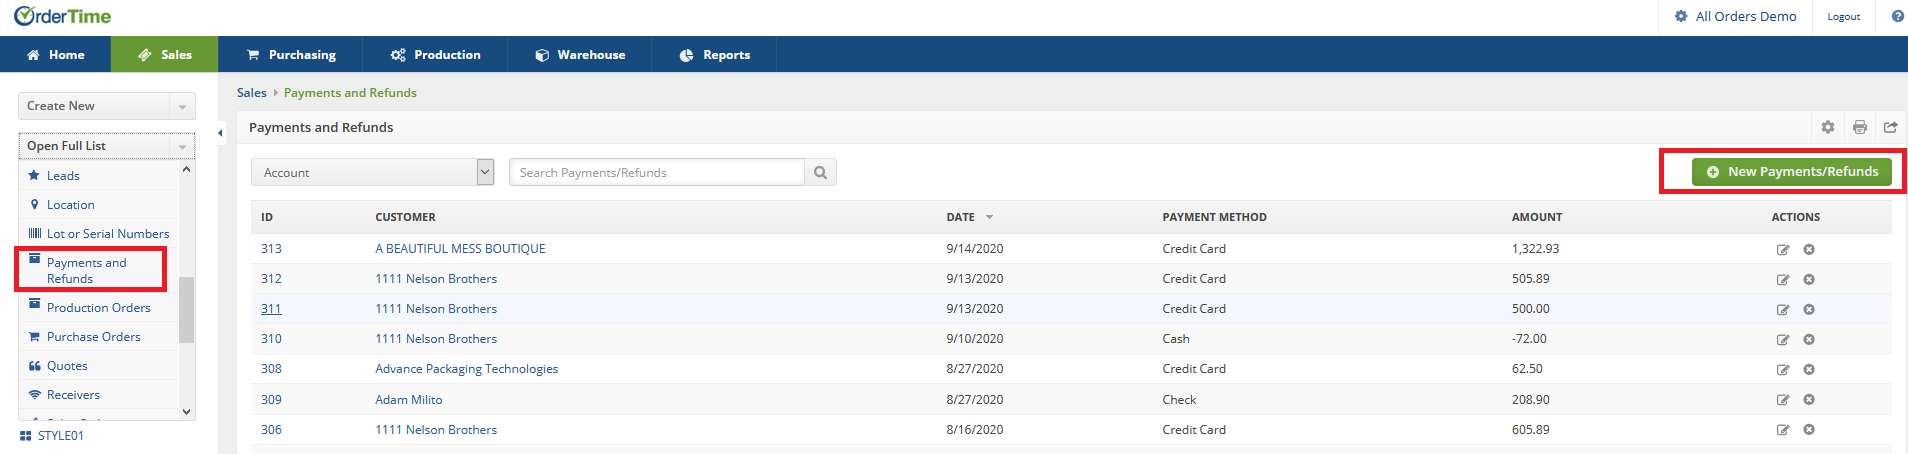
Pull up the Payments and Refunds List and either Create a New Payment or click on one from the List
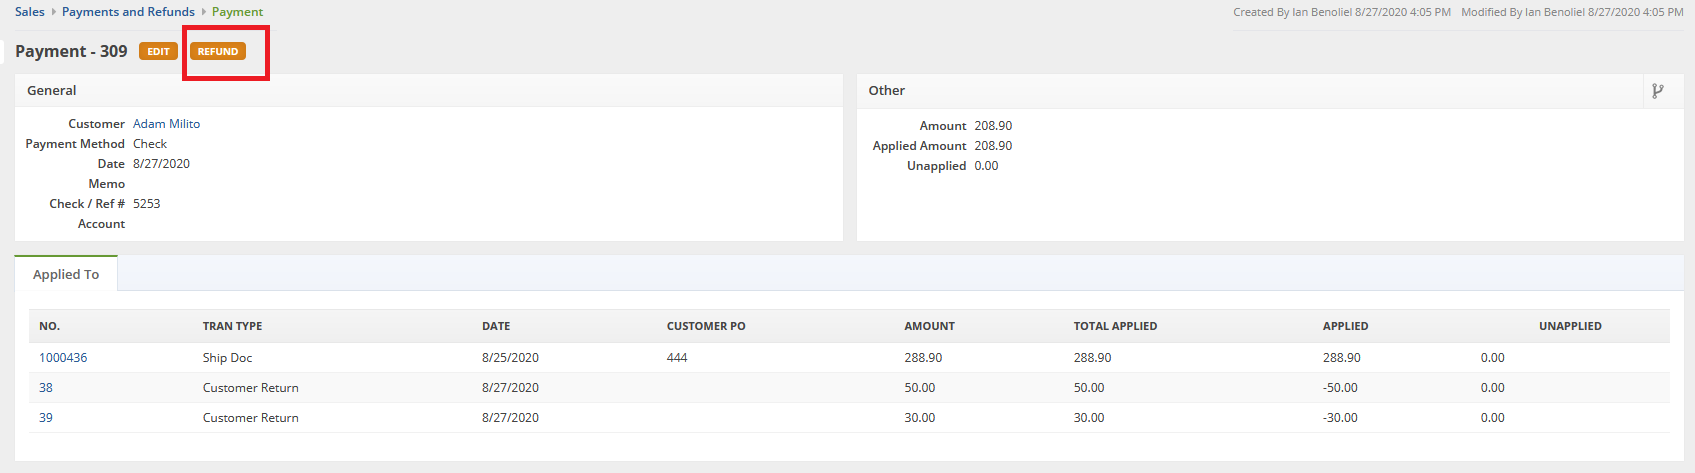
After clicking on a Payment that has been Applied, click on the Refund Button at the top-left
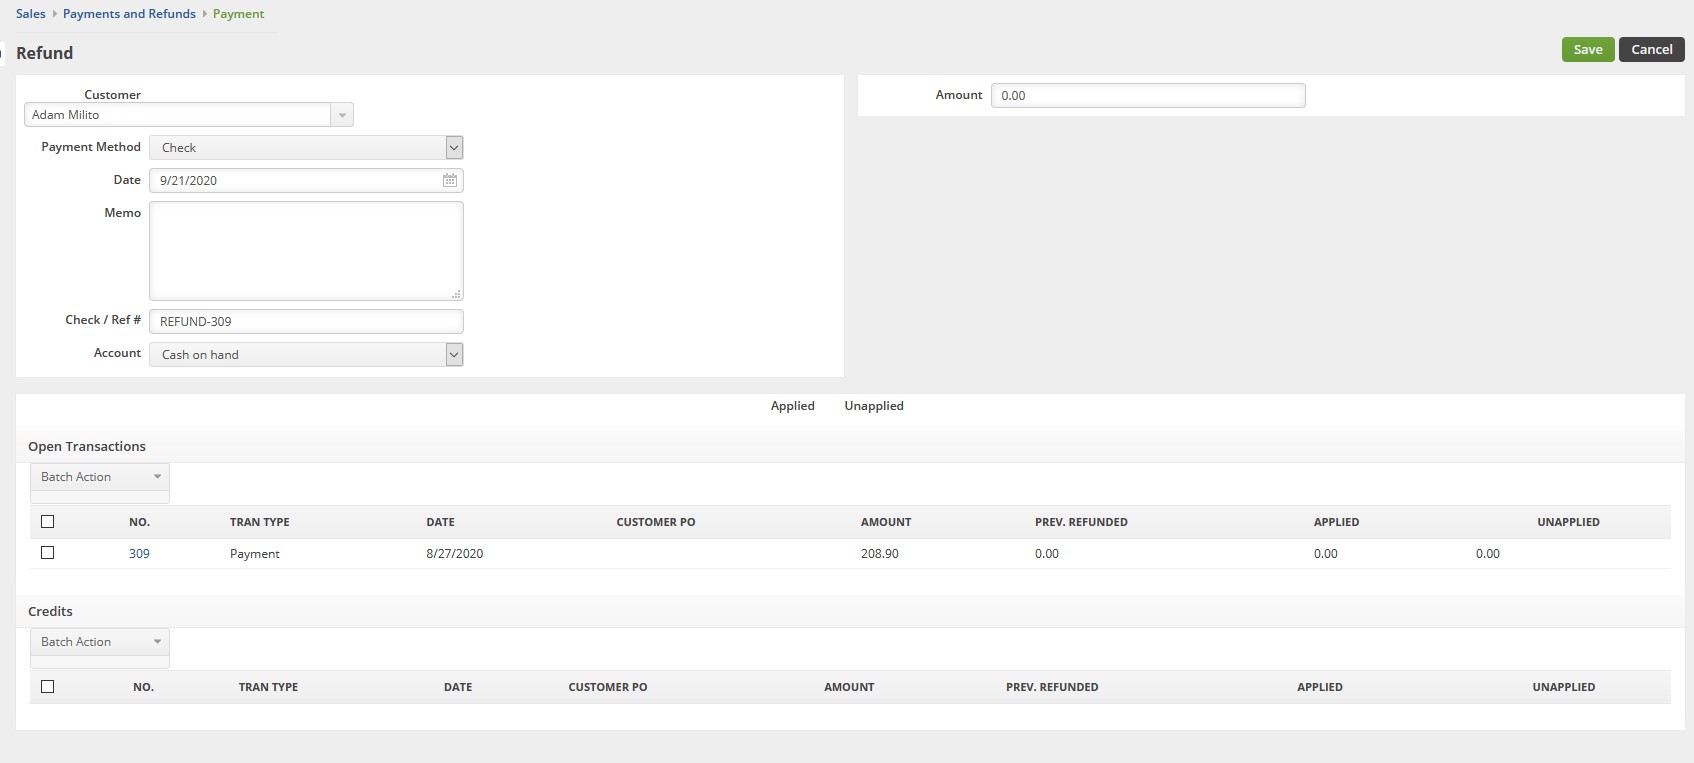
Fill out the necessary information and the Amount and hit Save to Apply that full refund.
----- ----- -----
Another method is pulling up the Payment from the Ship Doc. Open up the Ship Doc that you would like to Fully Refund.
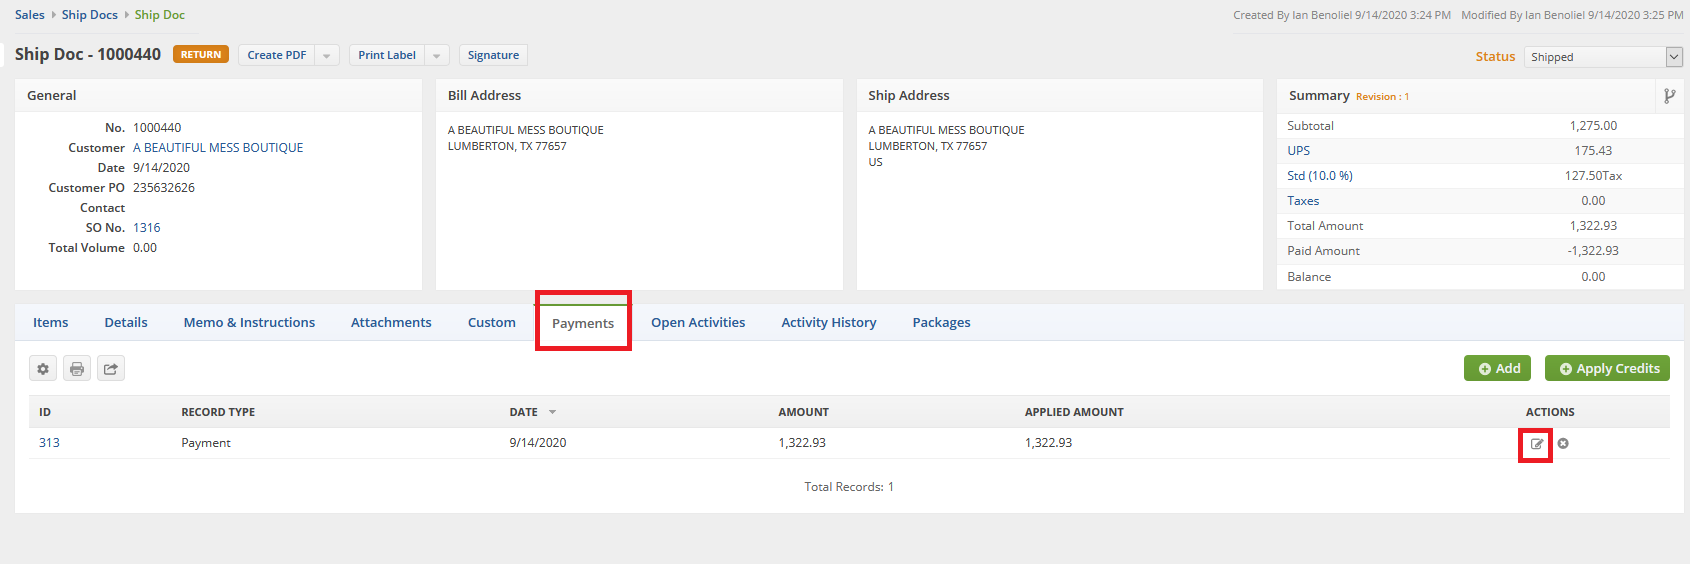
Click on the Payments tab and Click on the Edit button next to the Payment you wish to Fully Refund.
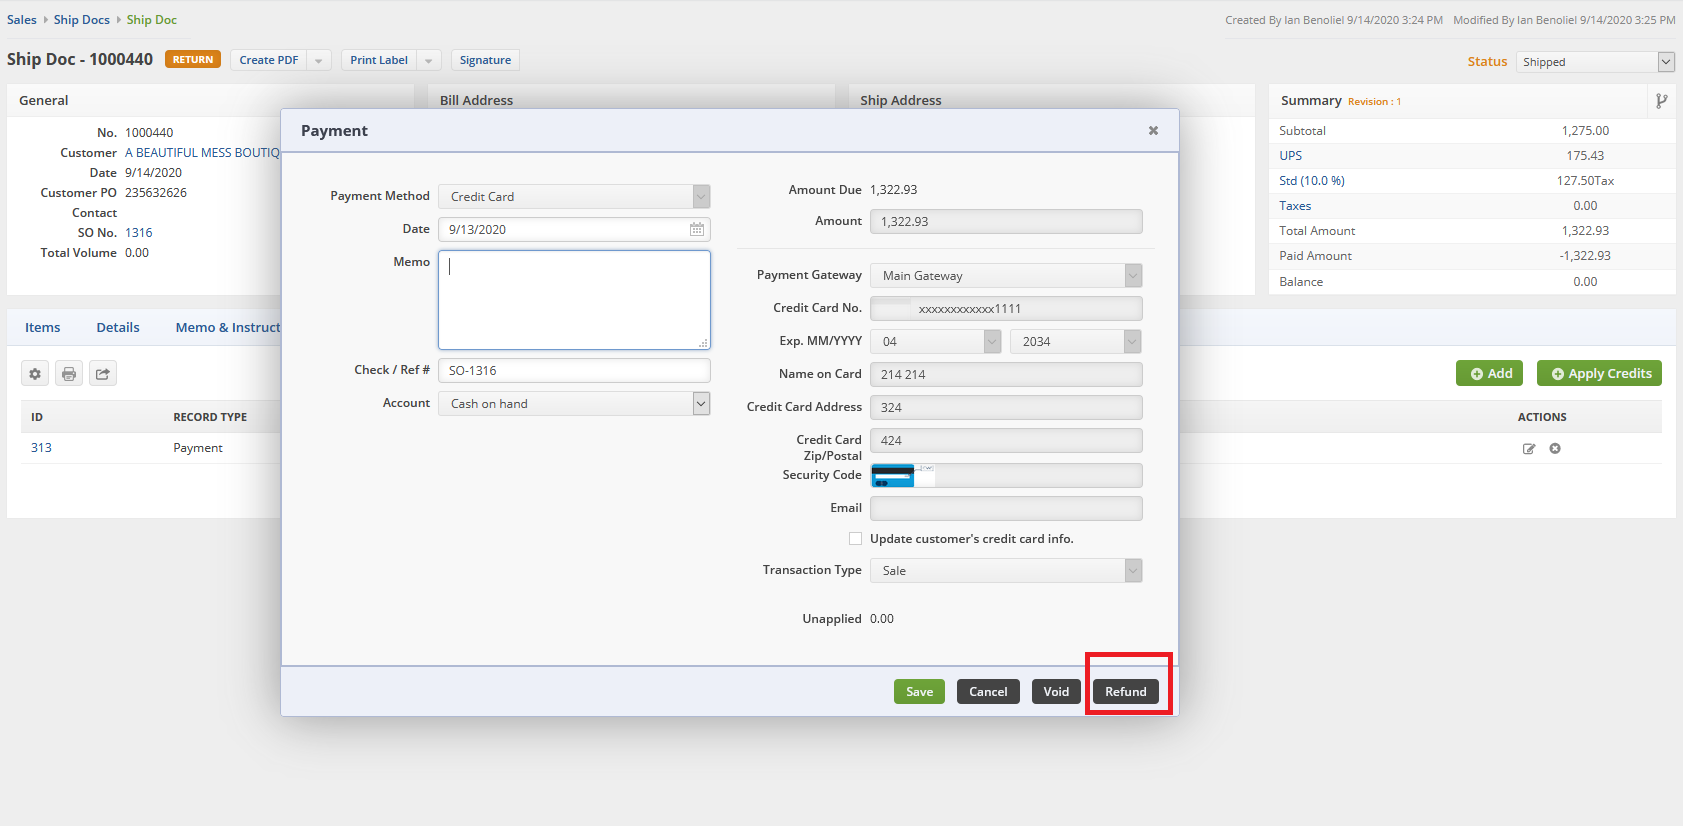
On this next window make sure to click Refund in the bottom-right
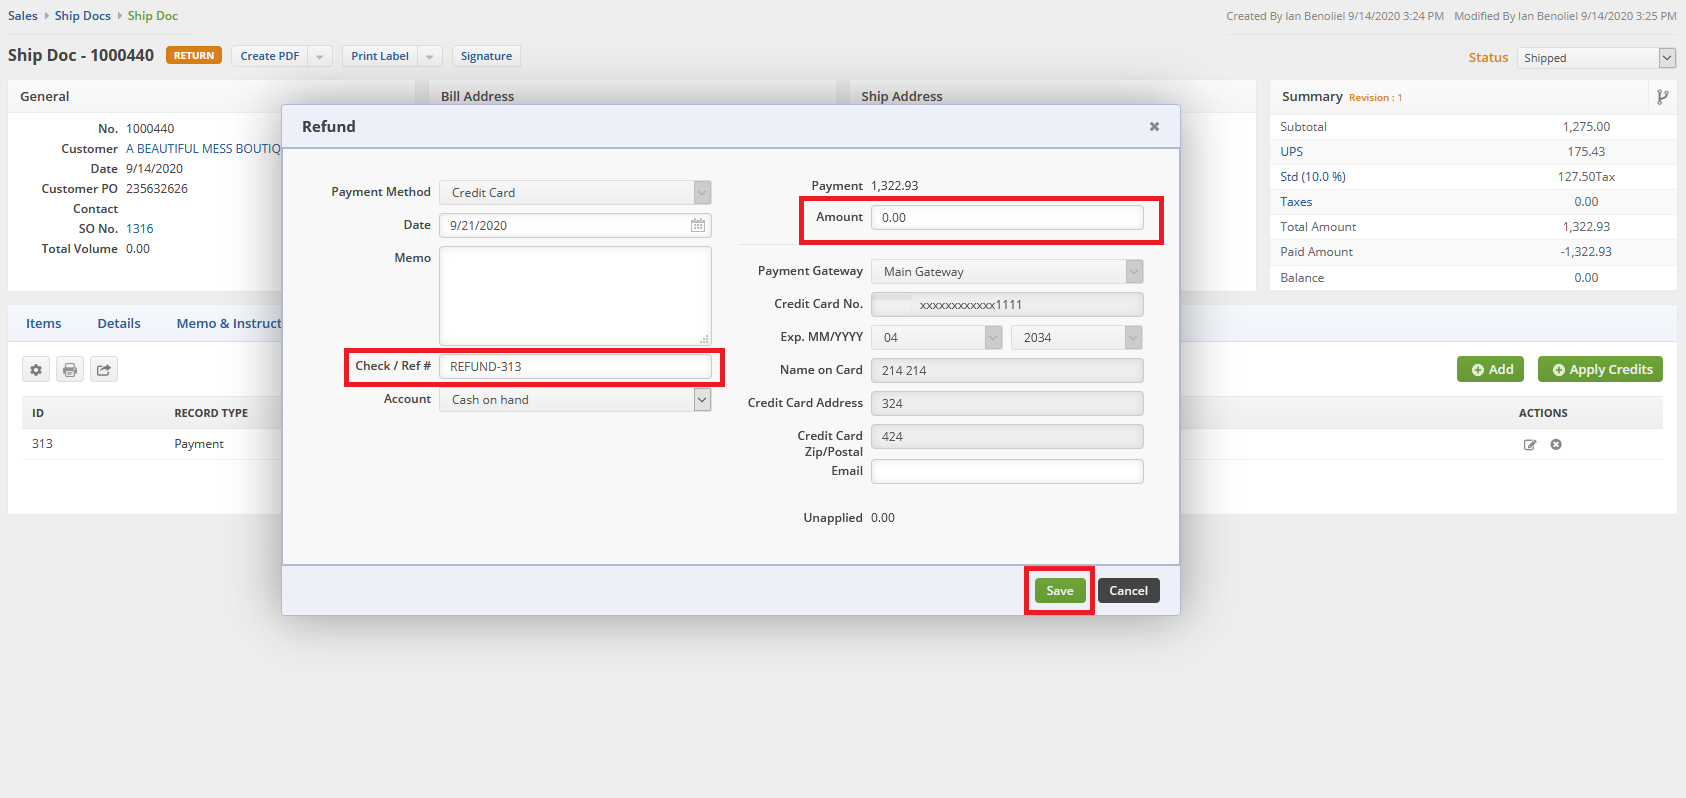
Now you'll notice there is a new Ref # and you can input the amount and hit Save to Apply the Full Refund.
There is a different process for a Partial Refund, see below!
Partial Refunds Must Be Processed As A Customer Return
- Create a non-inventory item called Refund Item or Partial Refund
- Create a Customer Return with the instructions below
- Add that Item to the Return
- Make the Price the amount you want to Refund
- Process the 'Return' as normal and you're done!
- You can change the Description as well to explain what is going on and why the Refund was necessary
You will notice that the Customer Return form is nearly identical to that of the Ship Doc. The only difference is the direction of the shipment: with Ship Docs, Items are shipping from you to the Customer; a Customer Return merely reverses the process.
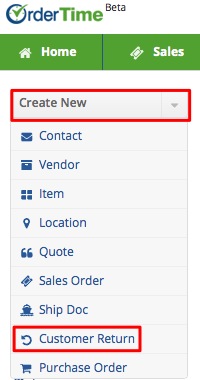
Customer Returns can be easily processed by selecting the Create New drop down menu and selecting the Customer Return option.
- Click on the side menu.
- Select Create New.
- Select Customer Return from the drop down menu.
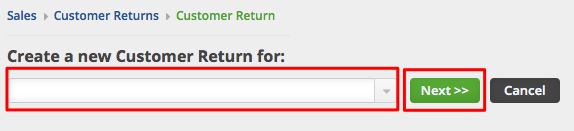
- Enter the customer name on the Create a new Customer Return for box. A drop-down menu will provide you with a list of customers that are already in your database. Select the appropriate customer.
- Click on Next>> to proceed to the next screen.
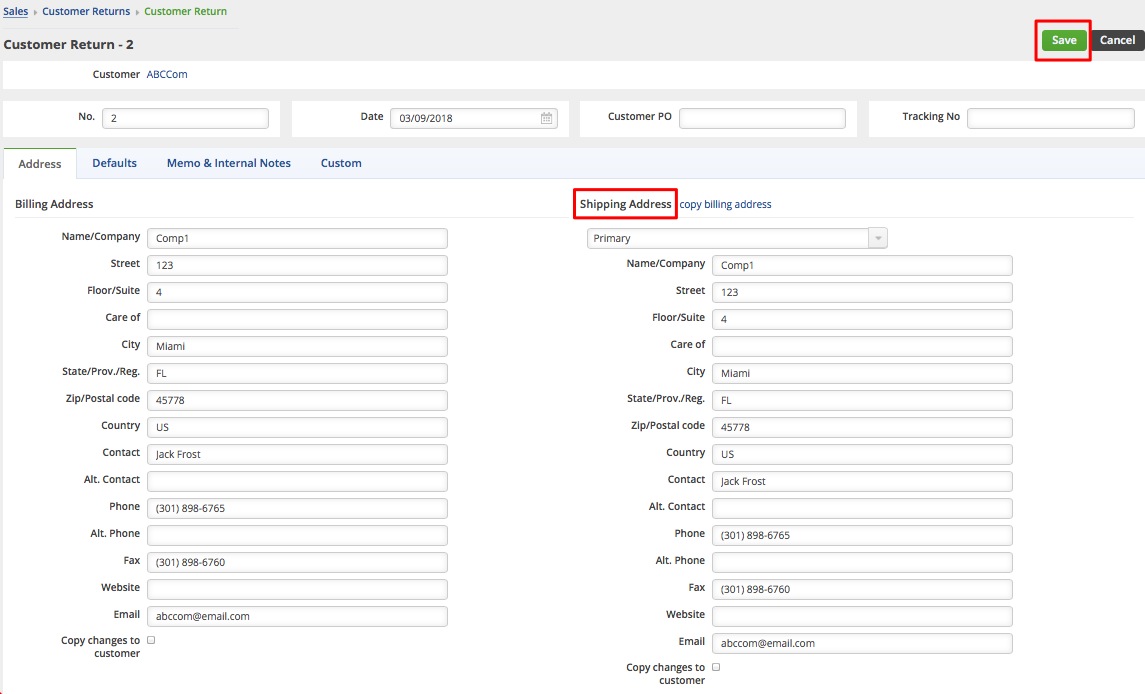
- Review the customer information, specifically the shipping address. If they are different, make changes as needed to insure that the Return has the correct billing address and will be returned to the correct shipping address.
- Select the Date if it is different from the day of origination. (Date is auto-filled)
- Enter Customer's Purchase Order (PO) Number and Tracking Number, if applicable.
- Provide more details by completing the other tabs: Default, Memo & Instructions and Custom.
- Click Save.


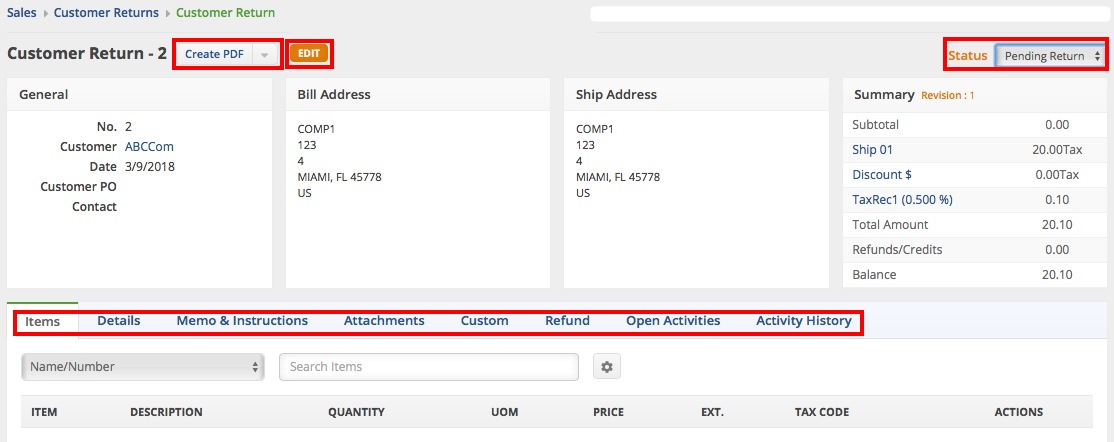
You can also do the following in Customer Return page:
- Use the Edit button next to the Create PDF drop down menu to make changes.
- Process refund, send emails, add attachments, create a log, and add notes to your Vendor Return.
- Under the Memo & Instruction tab, you can include notes and Date Stamp as needed.
- Create a PDF file of the Customer Return.
- Update the status of the Customer Return.

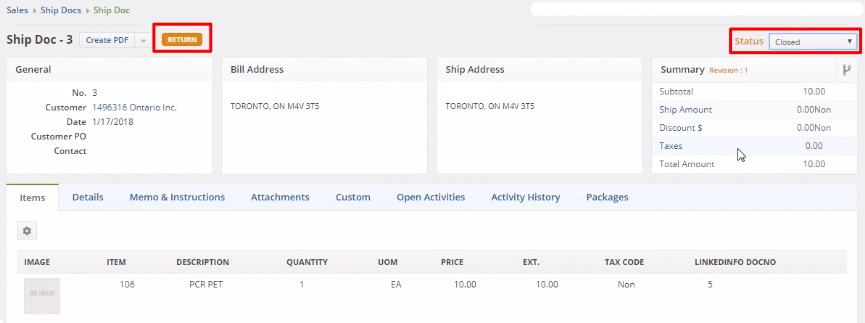
Alternatively, you can also create a Customer Return from a Shipped or Closed Ship Doc by clicking the Return button.
Processing Customer Return Transaction
Once the Customer Return has been created, the return can be processed by selecting the appropriate status from the drop down menu. On the top right side of the screen next to Status, use the drop down menu to change the status of the Customer Return. The following status options will be available for the Customer Return:
- Pending Return: Customer Return is on hold until items are received.
- Returned: The Items have been returned.
- Voided: The Customer Return has been voided.
- Closed: The Customer Return is closed.
When the status is not returned or closed, the inventory is shown as Pending Returns. Pending returns are not Owned until the customer actually returns.
When the Customer Return status has been changed to Returned, the item will be received and available in inventory.
Creating a PDF for the Customer Return
A Customer Return can be printed and emailed to the adressee.
- Click the Create PDF icon next to the Customer Return number.
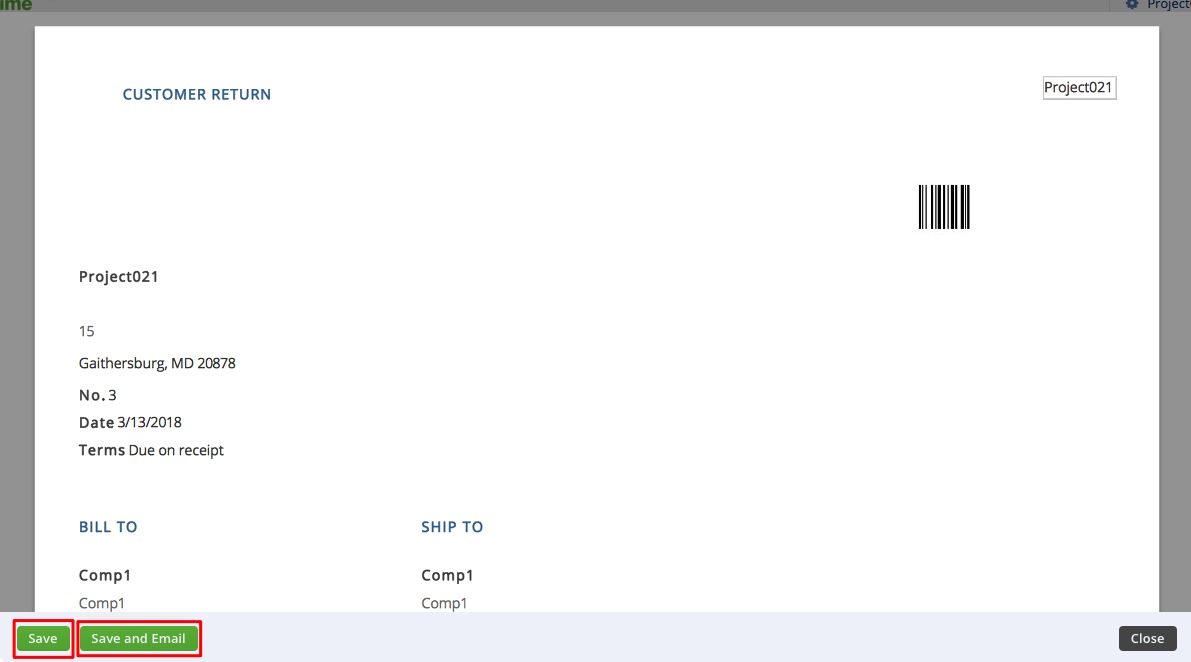
- The PDF version of the Customer Return will open.
- Click the Save and Email button to send out the PDF file. Alternatively, you can Save (only) the PDF file by clicking the Save button.
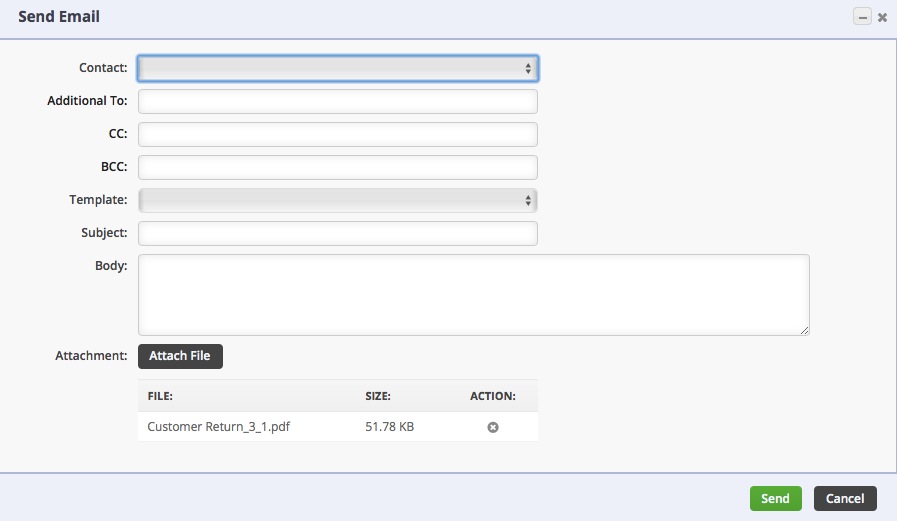
- The Send Email screen will pop up. Fill out the fields. You will have the option to attach additional information, carbon copy individual in your company.
- An email template is provided, select the appropriate template from the Template drop down box.
- Click Send.