How to Create a Zap with Order Time's Zapier Integration
Order Time's integration with Zapier opens up a multitude of possibilities for automating your workflow. By setting triggers based on new entities in Order Time, such as Contacts, Customers, Leads, or Tasks, you can connect and automate tasks with thousands of apps. Here's a step-by-step guide on how to create a Zap with Order Time's Zapier Integration, the entities you can use as triggers, and some examples of actions you can automate.
Step 1: Set Up Your Zapier Account
Before you begin, make sure you have a Zapier account. If you don't, sign up at Zapier's website.
Step 2: Connect Order Time to Zapier
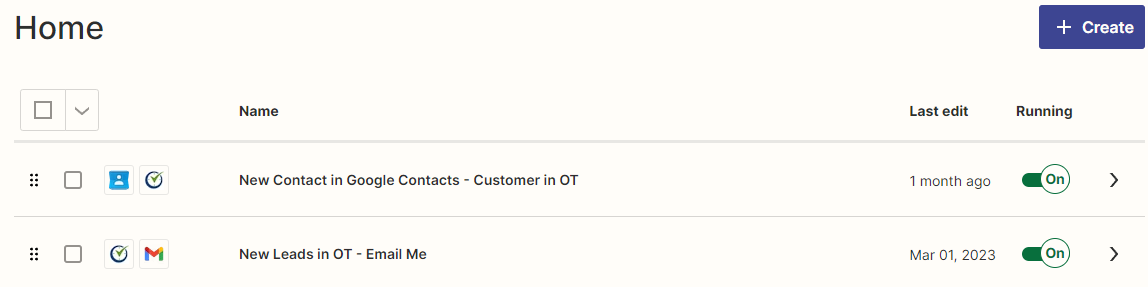
- Log in to Zapier: Once you're logged in, click on
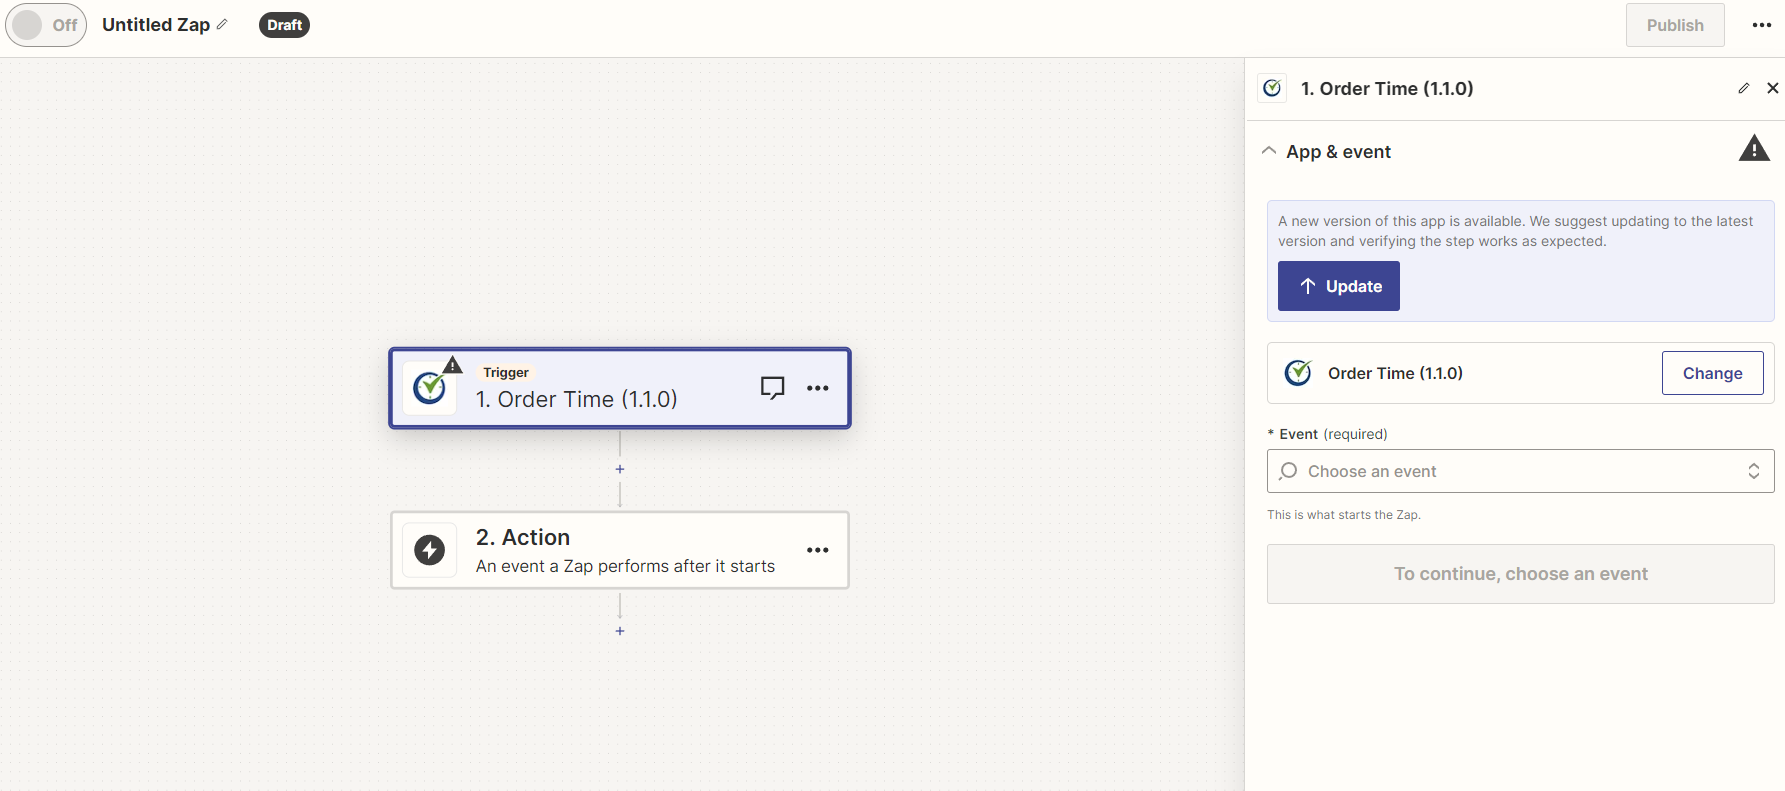
Make a Zap!. - Choose Order Time as the Trigger App: Search for Order Time in the app directory and select it.
- Select the Trigger: Choose the event that will start your Zap. With Order Time, you can select new Contacts, Customers, Leads, or Tasks.
- Connect Your Order Time Account: Follow the prompts to sign in to your Order Time account and authorize Zapier to access your data.
- Set Up Trigger: Customize the options for your chosen trigger. For example, you might specify a particular status of tasks or a category of contacts.
Step 3: Choose the Action App
After setting up your trigger:
- Select an Action App: Choose the app you want to perform an action when your trigger occurs. Zapier supports thousands of apps, so you have plenty of options.
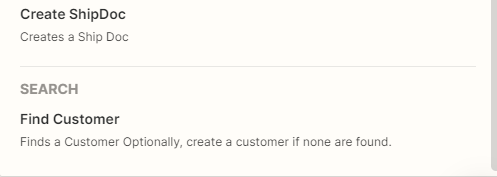
- Choose the Action: Select the specific action you want to happen in the app when your Order Time trigger occurs.
- Connect Your Action App Account: Authorize Zapier to interact with your chosen action app.
- Set Up Action: Customize the action settings based on your needs. You might be sending an email, creating a new row in a spreadsheet, or adding a new event to a calendar, for example.
Step 4: Test and Activate Your Zap
Before you finalize:
- Test Your Zap: Zapier will offer the option to test your trigger and action to ensure everything is working correctly.
- Name Your Zap: Give your Zap a clear, descriptive name.
- Turn On Your Zap: Activate your Zap, and it will run automatically based on your trigger settings.
Order Time Entities You Can Use as Triggers
- Contacts: Trigger actions whenever new contacts are added in Order Time.
- Customers: Set up a trigger for when new customers are registered.
- Leads: Automate tasks whenever new leads are captured.
- Tasks: Use the creation of tasks as a trigger for other processes.
- MORE COMING SOON!

Examples of Zaps You Can Create
- Contact to Email List: When a new contact is added in Order Time, automatically add them to your email marketing platform's subscriber list.
- New Customer Notification: Receive Slack notifications or emails when a new customer is added to Order Time.
- Lead Follow-Up: Create a task in your project management tool like Trello or Asana when a new lead is added in Order Time, ensuring timely follow-up.
- Task to Calendar: Automatically add new tasks from Order Time to your Google Calendar, setting reminders for due dates.
With these steps and ideas, you're now equipped to streamline your workflow by connecting Order Time with thousands of other apps through Zapier. Enjoy creating your own Zaps and watch your productivity soar!
