2Ship Integration Guide
This guide provides step-by-step instructions for seamlessly integrating 2Ship with your Order Time to enhance the efficiency of your shipping workflow.
-
Prerequisites:
- Obtain the Web Service key from 2Ship Support.
- Enable logging only if instructed by support.
-
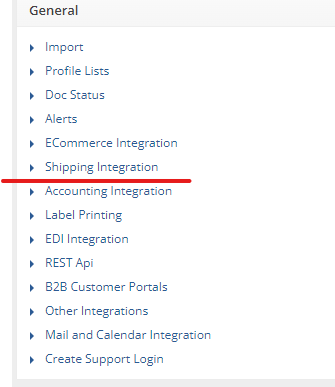
Locating 2Ship Integration Page:
- Navigate to the admin menu.
- Click on the company name in the top right of your order item screen.
- Under "General," find the "Shipping Integrations" link
-
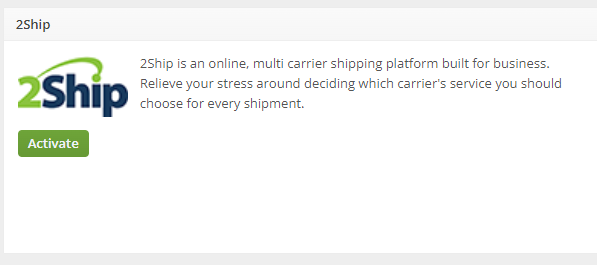
Activating and Configuring 2Ship Integration:
- Choose the 2Ship integration option.
- Click "Activate" and then "Configure" to proceed to the next step.
-
Setting up Default Ship Method:
- The 2Ship integration requires a default ship method for all shipments.
- Set a default ship method to allow ship docs and transfers with no assigned ship method to still post using this default.
-
Applying Filters:
- Set filters for specific locations or ship methods if needed.
- For transfers, the location filter will be applied to the Location To.
-
Enabling Document Types:
- Using the Ship Docs and Transfers tabs, enable either or both document types to allow ship docs to post to 2Ship.
-
Order Source Filtering (Caution):
- Exercise caution when setting filters for order sources, as this feature is in Beta (for ship docs only).
-
Setting up Custom Fields for 2Ship Shipment ID and Transfer ID:
- Create a Custom Field within Ship Docs called 2ShipShipmentId
- Create a Custom Field within Transfers called 2ShipTransferId
- In the mapping area of the configuration, select the custom field to store the unique ID assigned to the shipment by 2Ship after posting.
- Setting up Custom Field for 2Ship Location ID
- Create a Custom Field within Locations called 2ShipLocationId
- Add this custom field to your page layout for the Locations Editor
- A Location ID must be entered for every location in your Senders section of 2Ship
- Ex. Order Time HQ matches up with HQ in 2Ship
- So the Location ID in 2Ship for HQ must be entered in your Order Time HQ Location's Custom Field.
- To get the Location ID from 2Ship, go to AddressBook >> Senders >> Export to CSV

- Within this CSV file, locate the Locations Column, this contains the number that you need to enter to map that location with your shipping locations in Order Time.
-
Automated Status Change for Ship Docs and Transfers:
- Check the box for "Change Status" if the ship doc or transfer should be automatically changed to a new status after the shipment is shipped, and the tracking number is written back into Order Time.
-
Posting to 2Ship:
- Ship docs will post to 2Ship when the status is changed to "Picked."
- Transfers will post to 2Ship when the status is changed to "Received."

-
Data Points Passed to 2Ship:
- Doc No to Order Number.
- Location ID (Location To for Transfers).
- Custom Field "2ShipLocationId" for Locations
- Ship Method ID to Carrier ID.
- Company Info to Sender Address.
- Recipient Address from the assigned shipping addresses or Location To for transfers.
- Package data can be sent, or dummy data will be filled in if packages are not used.
By following these steps, you can successfully integrate 2Ship with your system, ensuring smooth shipment processing and accurate data transfer.
For all you locations, ship to addresses and bill to addresses make sure the Country and State codes are valid 2 leter codes.
