Overview
Reorder Analysis is a tool in Order Time that analyzes data and determines what needs to be purchased. It allows you to identify the items that need to be purchased at a particular time, based on certain business rules, filtering and methodologies.
Depending on your business requirements, running a Reorder Analysis can be periodically or everyday.
Creating and Running a Reorder Analysis
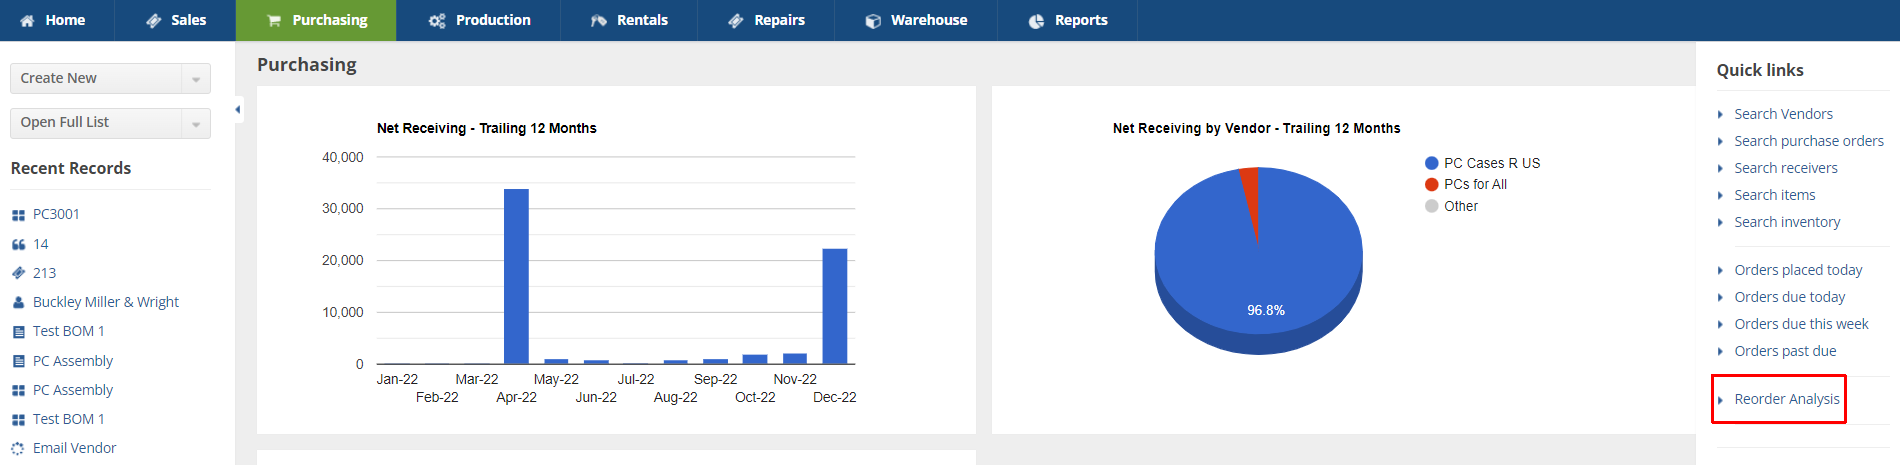
Reorder Analysis can be accessed from the Purchasing tab. Follow the steps below to create and run a Reorder Analysis.
- Click the Reorder Analysis link.
- Click +Purchasing.

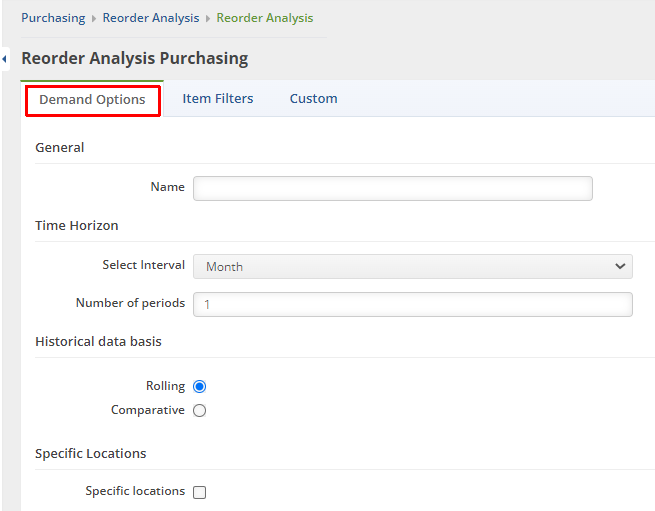
- Demand Options - Fill out the form in Demand Options tab.
- General
- Name - Assign a name to your Reorder Analysis.
- Time Horizon - This allows you to project out a certain time range in months or weeks.
- Select Interval - Choose either Month or Week
- Number of periods – Enter a number for the number of periods you selected in Select Interval.
- Historical Data Basis - With the given value that you provided for the Time Horizon, this enables you to set up the basis for the historical data that you want to extract.
- Rolling - If you select this, it means you want the system to give you an analysis immediately before the predetermined value given in the Time Horizon.
- Comparative - It prompts the system to analyze data from the same time (i.e. value in Time Horizon) last year.
- Specific Locations - Select specific locations. Un-checking this means you are selecting all location.
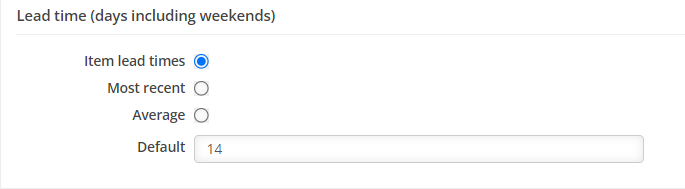
- Lead Time - This is a time span that measures the time it takes a supplier to deliver stock to your door. For example, if you placed a purchase order with your supplier on December 1 and received it December 15, the lead time is 14 days. Note:This includes weekends. This section asks you what kind of Lead Time you want to use.
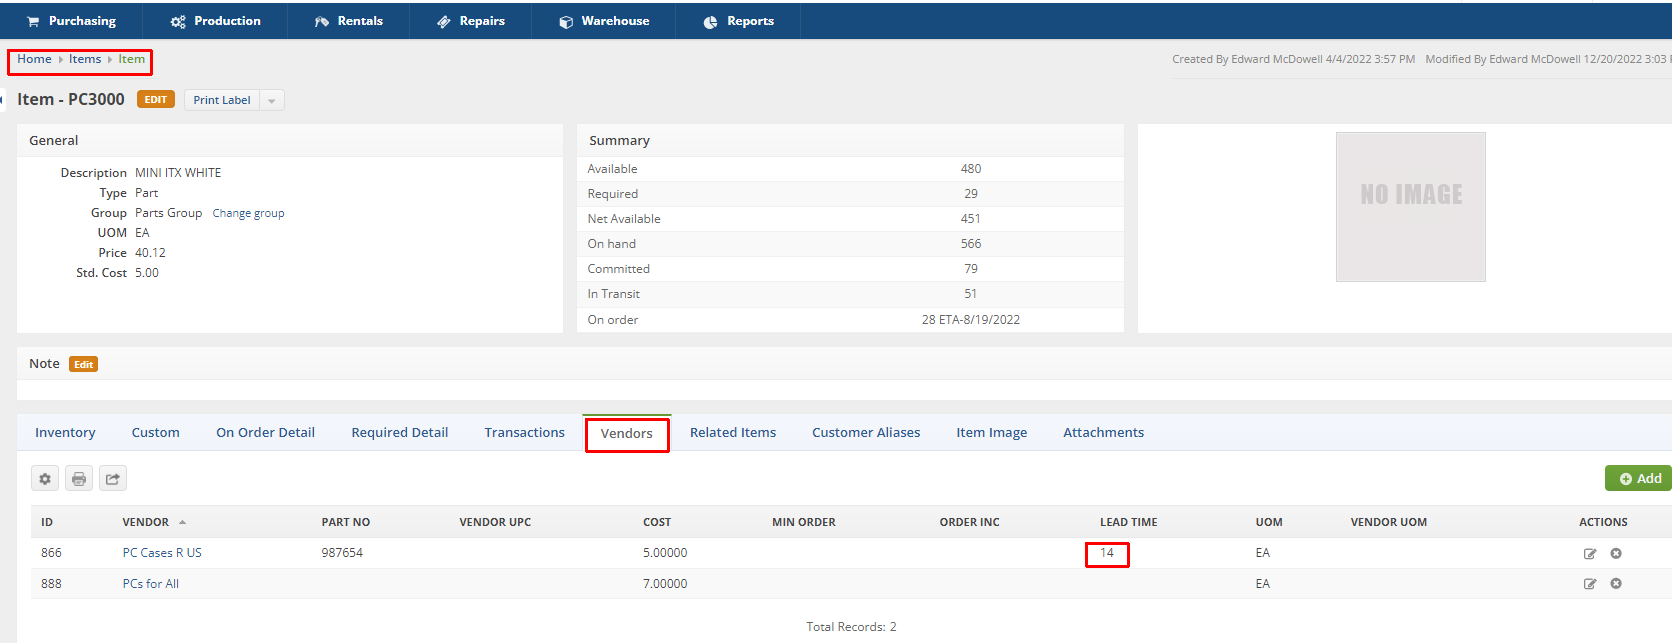
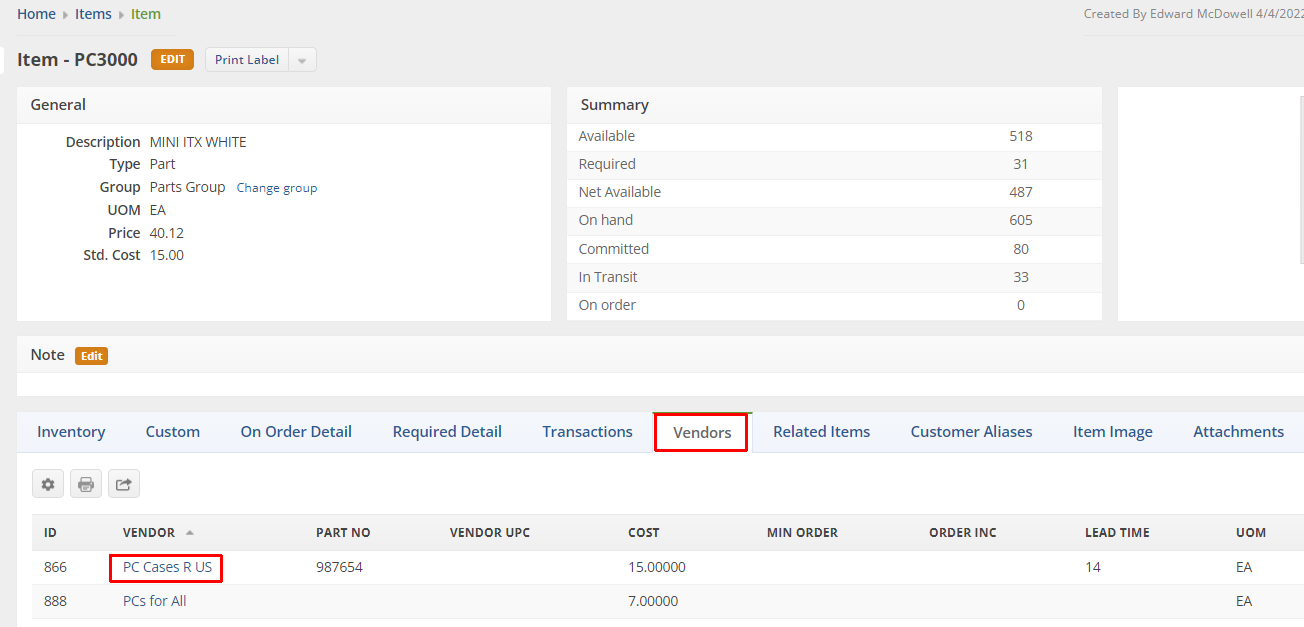
- Item Lead Time - This references the value that you entered in Items > Vendors tab > Lead Time shown in the Item Page Lead Time picture below.
- Most Recent - This is the most recent purchase order for a specific item.
- Average - This is the average quantity over the Time Horizon specified when setting up the scenario.
- Default - This is a required field. The value entered in this field will be used by the system just in case you do not know what lead time to use, or the system cannot find the lead time or there is no data to use as basis.
- Item Page Lead Time
- Go to Items > Vendors tab > Lead Time
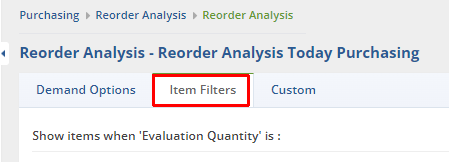
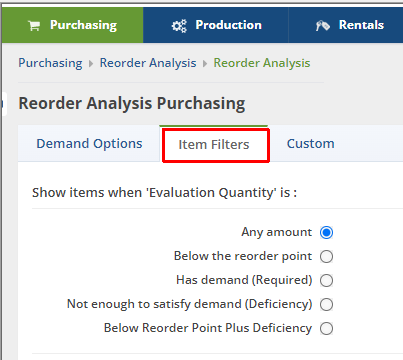
4. Item Filters - Click the Item Filters tab and set your filters by selecting items to flag by. Filtering is a practical way to see only the data that you want displayed. The main filter is Show items when 'Evaluation Quantity'is.
Evaluation Quantity
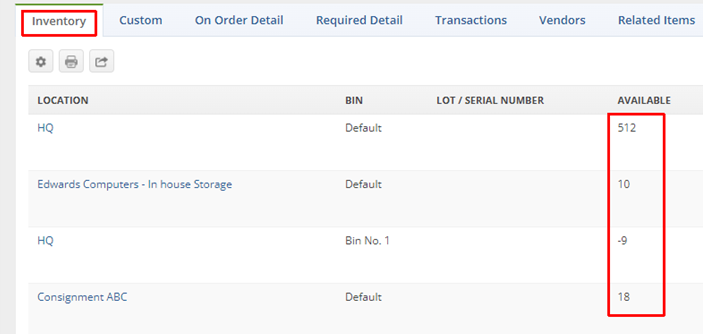
- Evaluation Quantity is what you have available today plus what you have on Purchase Order
- You can see this on each Item by going to the Item > Inventory tab and viewing the Available quantity for each Location.
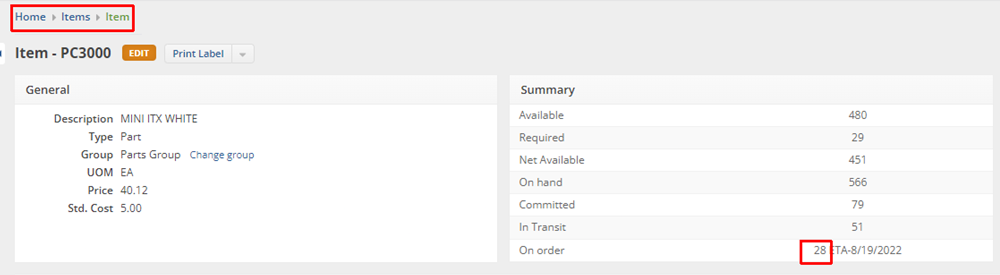
- The quantity listed in the On Order row of the Summary section is the quantity on open Purchase Orders.
- The Evaluation Quantity setting tells Order Time how you wish to determine when an item qualifies for reorder. There are different ways to filter out possible reorder candidates:
- Any Amount - This means that you want the system to show you all items in every amount.
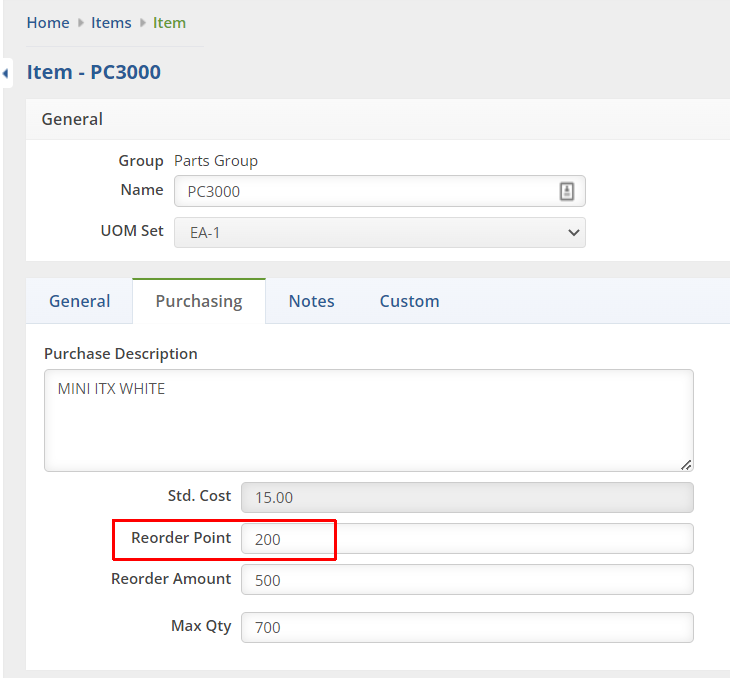
- Below the Reorder point - This references the reorder point specified on the Item > Purchasing tab > Reorder Point field see Reorder Point below
- Has demand (Required) - The 'Required' amount is the total number of the item on open Sales Orders plus unallocated components on Work Orders that are in 'waiting' or 'ready' status.
- Not enough to satisfy demand (Deficiency) - This means that the quantity in stock is lower than the quantity specified in the Sales Order.
- Below Reorder Point Plus Deficiency - Combines the Below the Reorder Point and Not enough to satisfy demand quantities.
- Reorder Point – You can find the Reorder point by going to Item > Edit Item > Purchasing tab.
The reorder point (ROP) is the level of inventory which triggers an action to replenish that particular item. It is a minimum amount of an item which a firm holds in stock, such that, when stock falls to this amount, the item must be reordered.
You can also filter data and find what is likely to be of interest and useful to you by any of the following:
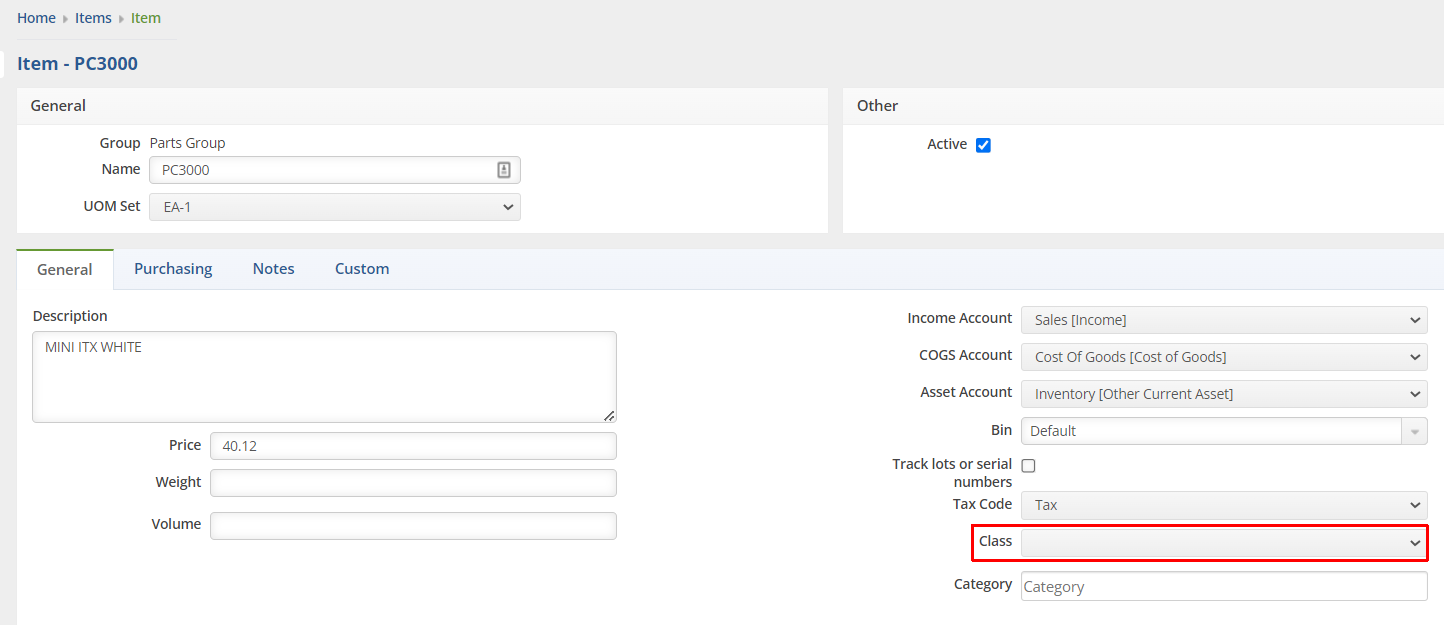
- Class - This references the Class specified on the: Item > General tab > Class field see Find the Class below
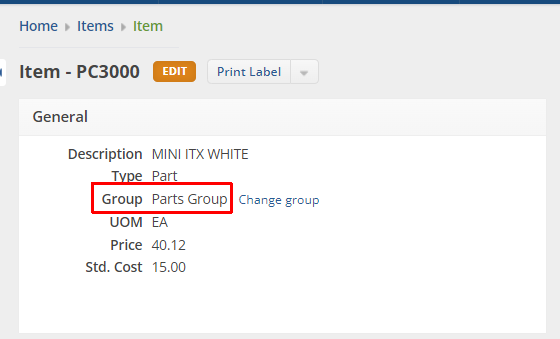
- Group - This references the Group specified on the: Item > Group see Find the Group below
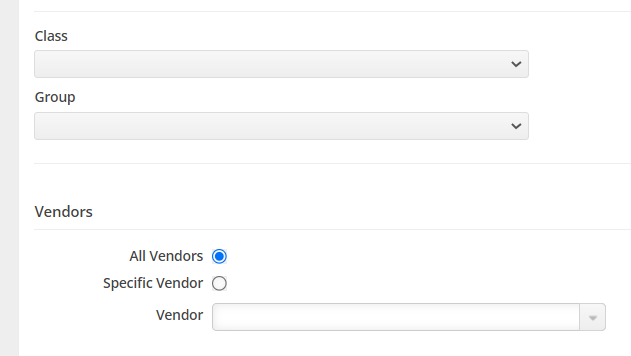
- Vendors - This references the Vendor specified on the: Item > Inventory tab > Vendor column see Find the Vendor below
Find the Class - You can find the Class by going to Item > Edit the Item > the General tab
Find the Group – You can find the group by going to the Item page and looking in the General section
Find the Vendor - You can find the Vendor by going to the Item page and clicking the Vendors tab
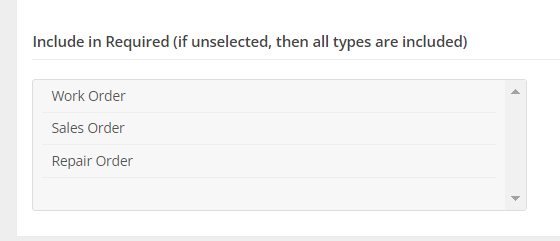
- Include in Required – This setting will tell Order Time to only include the selected order type in the Has demand (Required) filter shown above. If none are selected, all order types will be included in the Has demand (Required) filter
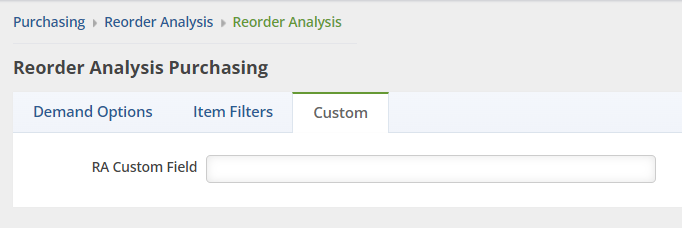
- Custom – The Custom tab allows you to create and use custom fields on the Reorder Analysis
- To learn more about creating custom fields, you can visit this web page https://help.ordertime.com/help/custom-fields
7. Click Save. Once saved, the Reorder Analysis runs. After the Finished On column shows a date and time then you can click the name to open the Reorder Analysis.

Here is an example of what the Reorder Analysis will look like
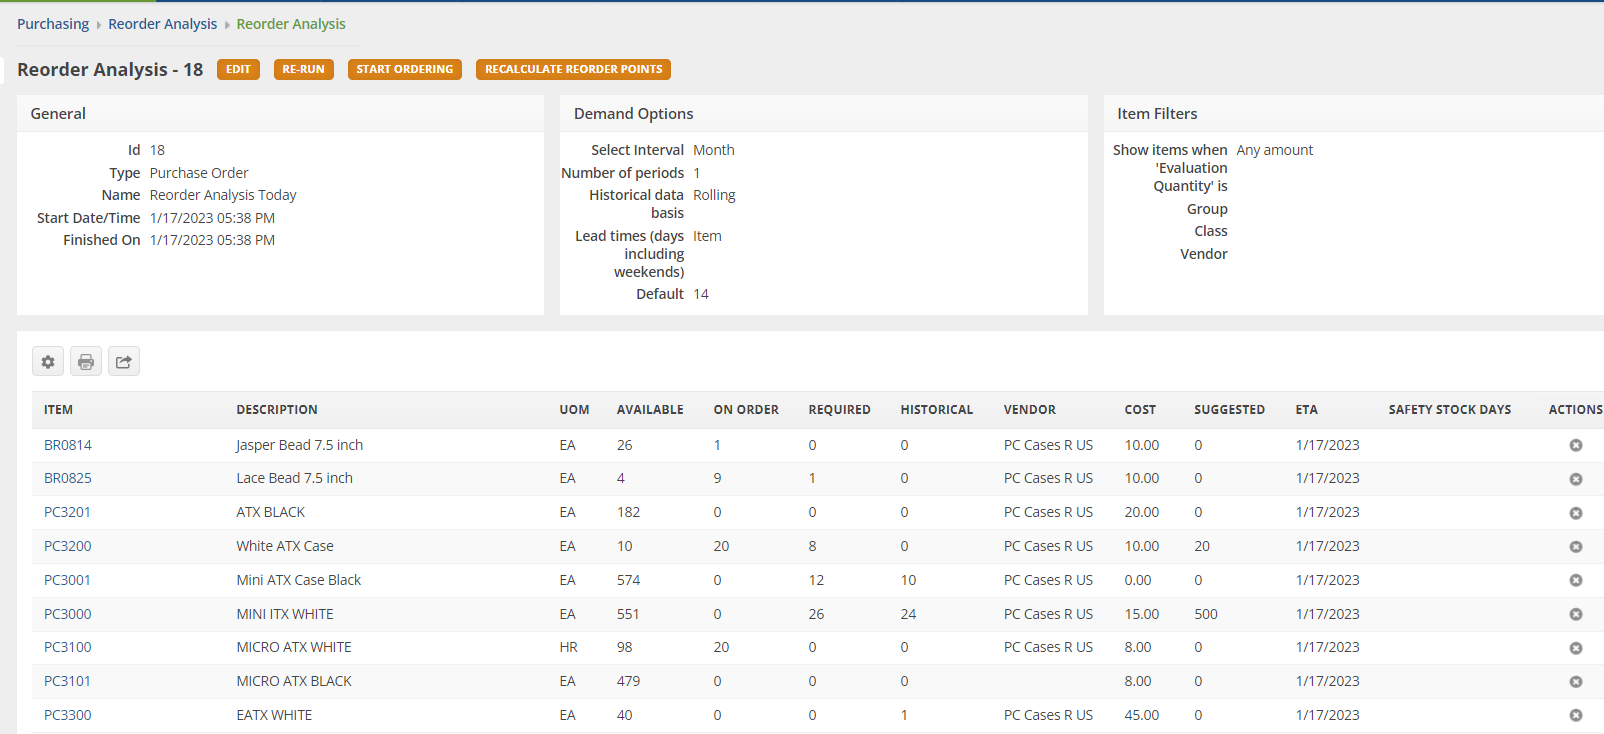
You do not have to re-create your Reorder Analysis every time, all you have to do is Re-Run it to get fresh results.
Attention: On the Reorder Analysis if you click on Recalculate Reorder Points, the calculations will not run if you have removed the Daily Avg. or Safety Stock Days columns.
Next: Using Reorder Analysis
