Overview
Creating a ship doc for one sales order at a time may suit your needs but if you want to process multiple sales orders at one time then you should use the Fulfillment Batch functionality in OrderTime. You can take all open sales orders and instantly create Ship Docs from them, no matter how many orders you have, with Fulfillment Batch.
The Fulfillment Batch tool is very useful when you just want to ship those orders which have items contained in a new receipt of inventory.
Creating a Fulfillment Batch
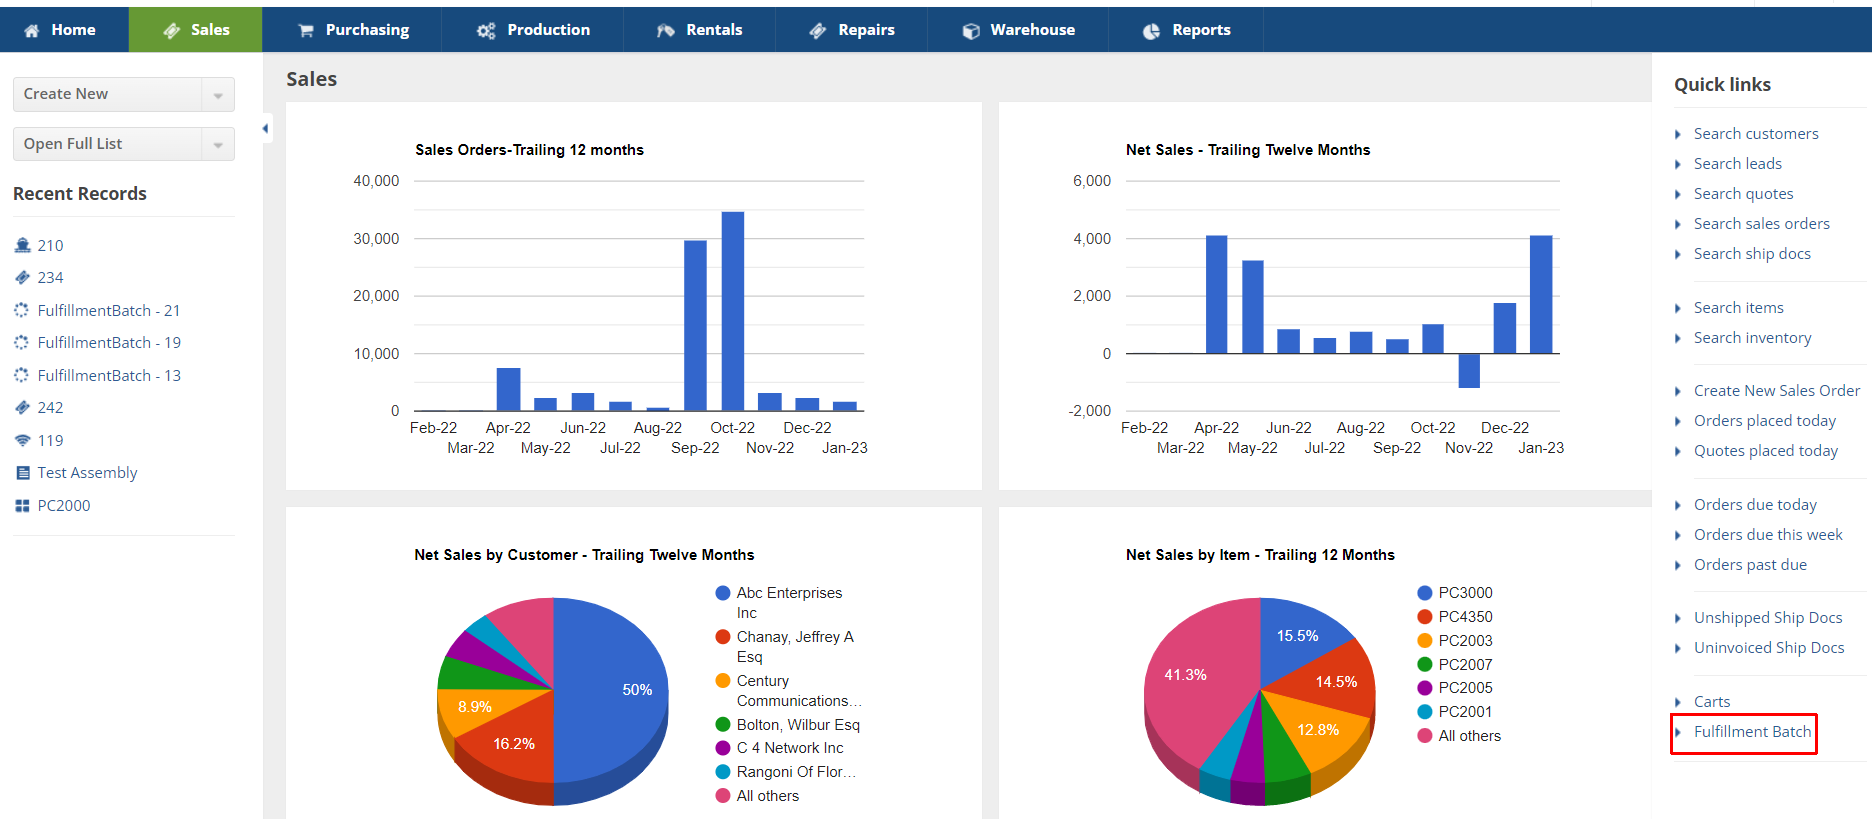
- You can launch Fulfillment Batch from the Sales tab, then click the Fulfillment Batch link on the right side of the screen, under Quick Links.
- On the Batch Ship page, click the +New Fulfillment Batch button.

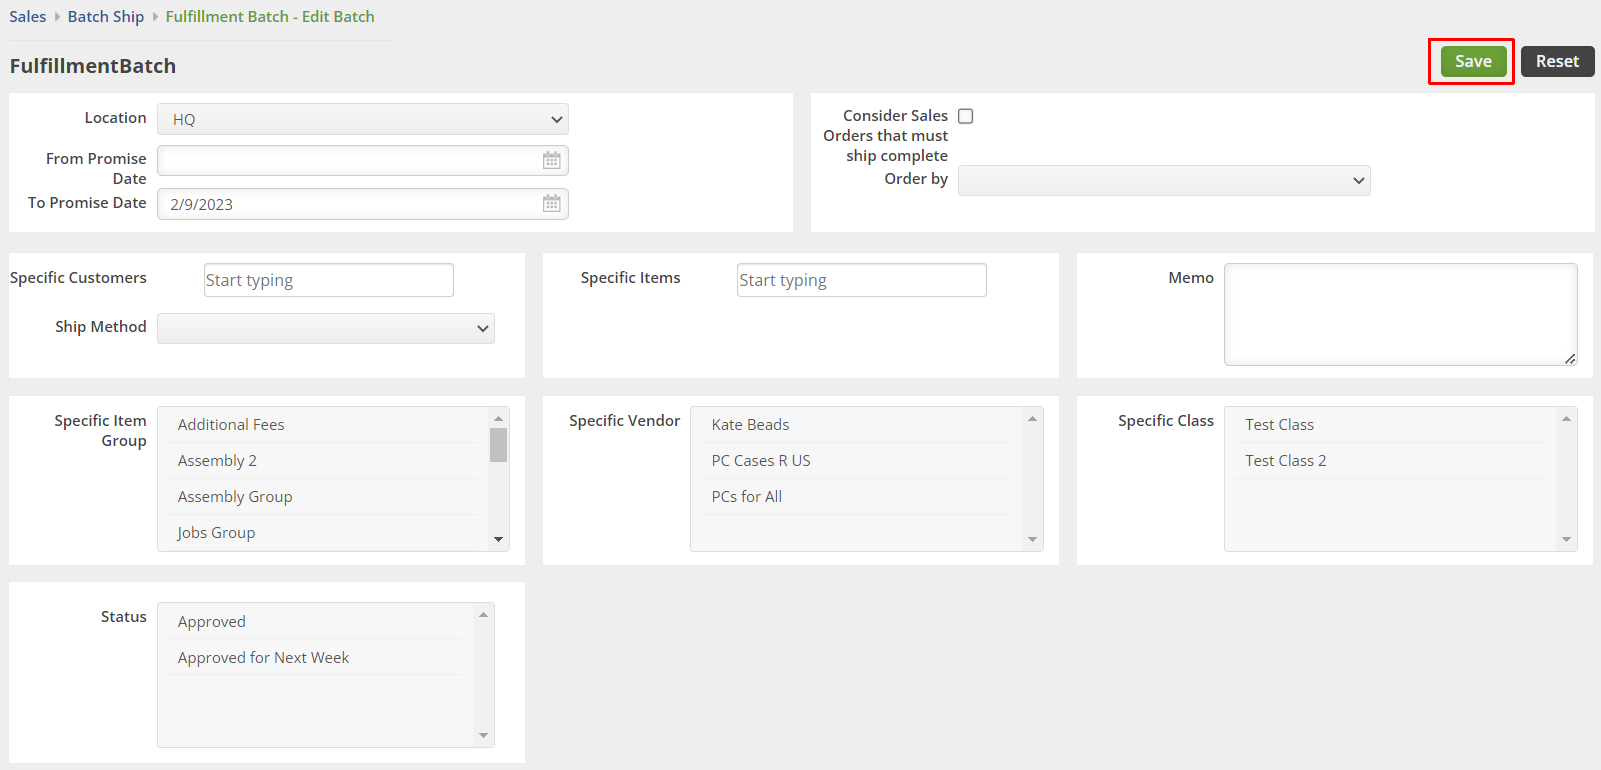
- The next page is the Fulfillment Batch - Edit Batch. This page contains different filters that you can use to determine which orders will be shipped. Select the value or values from the choices provided for each filter.


- Location - is where the sales orders are coming
- Promise Date - is filtered from the selected date up to and including the promise date
- Order By - is how you want to sort the orders (Order no., Order date or Promise date


Specific Customers and Locations
- Specific Customers - the entity that you are processing the orders for. Note: You can select multiple customers.
- Ship Method - You can filter the Fulfillment Batch by Ship Method
- Specific Items - the article or unit ordered. Note: You can select multiple items.
- Memo - A field for you to add additional information


Specific Item Group, Vendor and Class
- Specific Item Group - the category to which the items belong (e.g. Assembly, Hardware, Style, Kits)
- Specific Vendor - is the entity providing the goods or service
- Specific Class - is the category that sorts transactions, items or customers


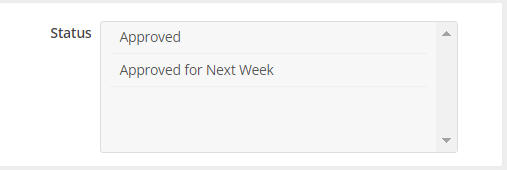
Status
- Status - You can filter the Fulfillment Batch to show orders with Approved or a custom Approved Doc Status

4. Click Save.
Once saved, the batch shipment runs.

5. After the Finished On date and time appear, then you can click the fulfillment batch/batch shipment number under the ID column.

6. The next screen will be the Batch Details page. The list of orders are displayed on the left pane. Click on any part of the order under the list pane to view the details of that order.
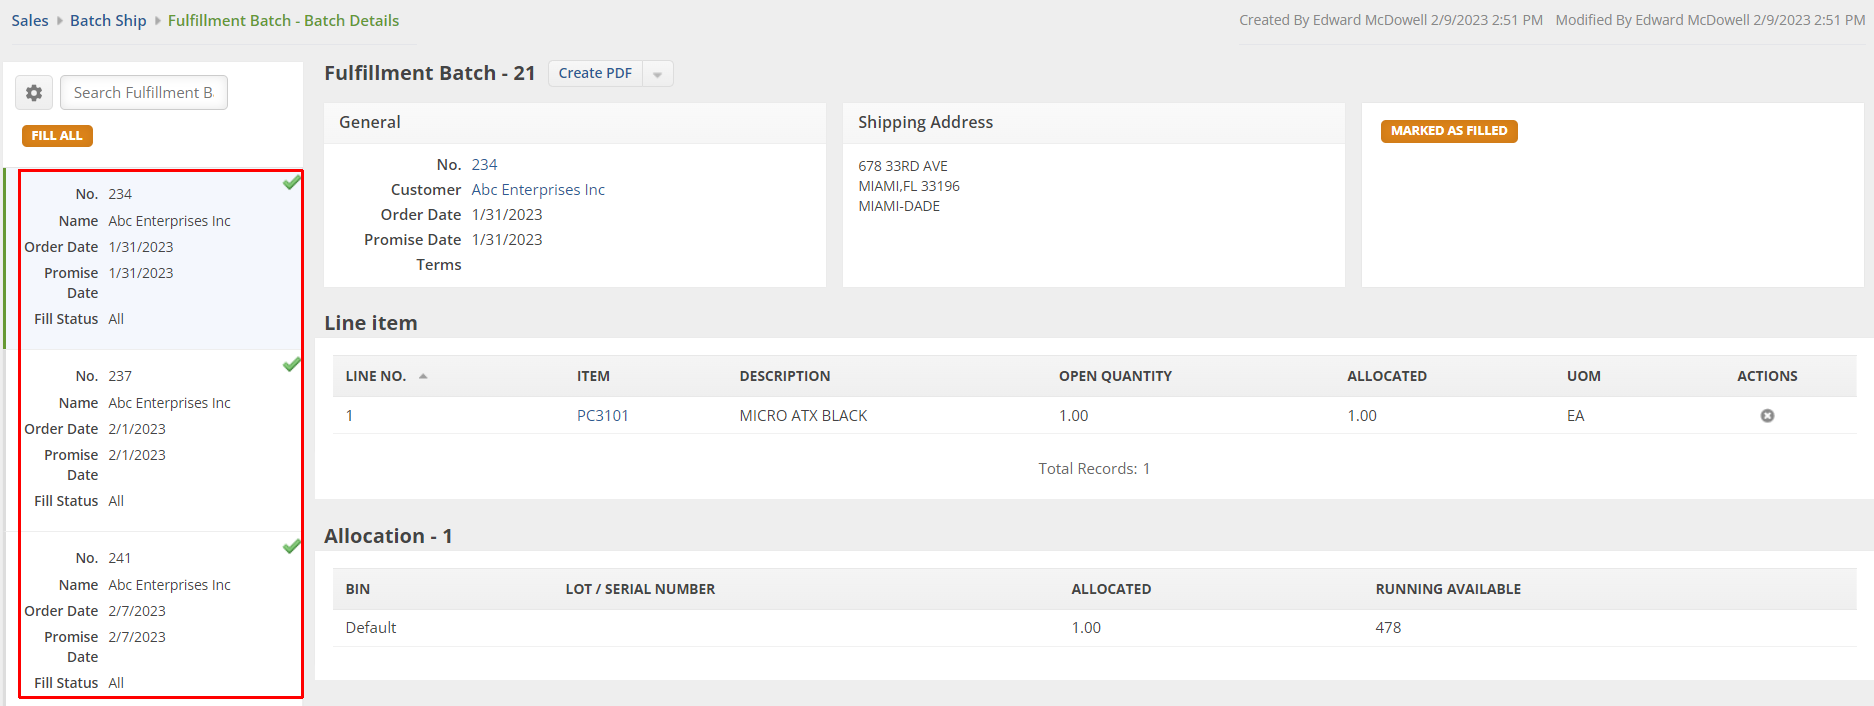
The Fill Status for each open order is shown on the list pane. It can be:
- All - Stock is available to ship for all the open items on the order.
- Partial - Stock is available to ship with:
- some items complete
- some items partially complete
- some with no items
Below are the different sections of the order details:
- General - displays the customer order number, customer name, order date and promise date
- Shipping Address

- Line Item - shows the Open Quantity (quantity that the customer ordered) and Quantity Allocated (how much is allocated)

- Allocation - shows the Bin where the orders are coming from, Quantity Allocated and Running Available (available units)


You can manually change the allocated quantity of an item by clicking on the row under Quantity Allocated column.
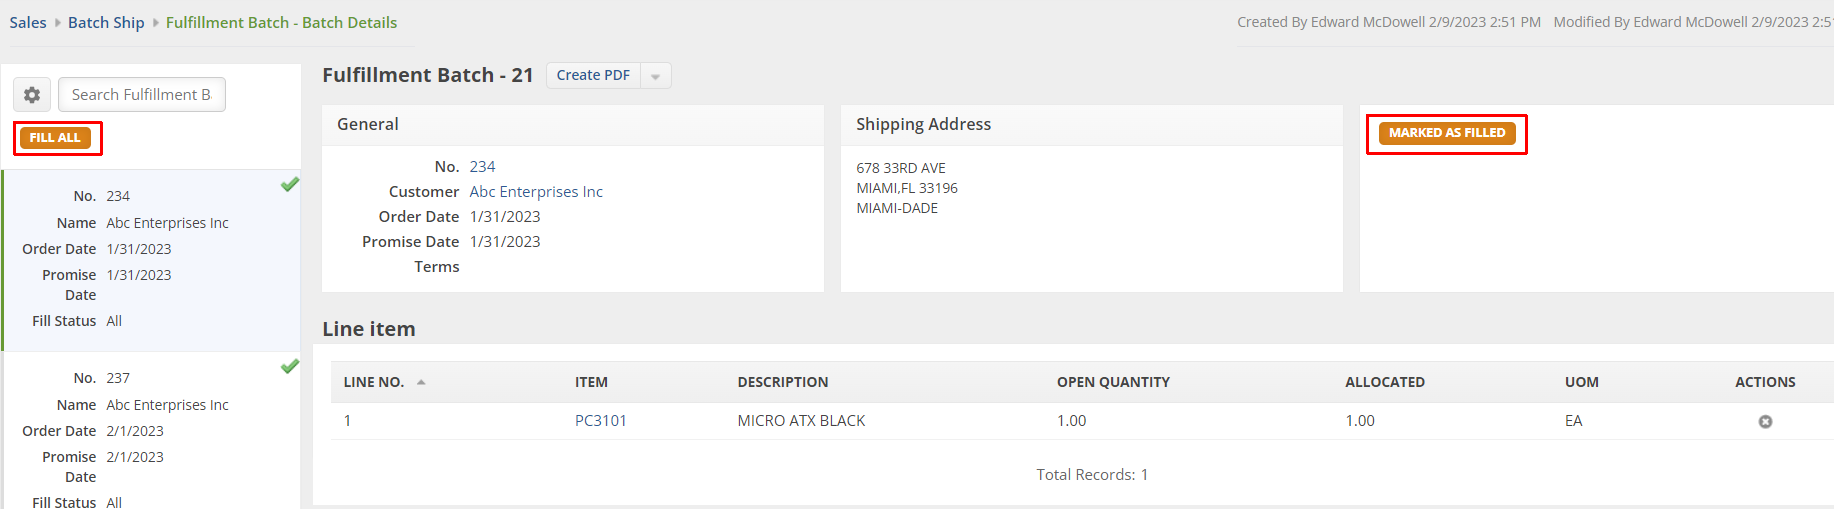
7. Click the Fill All button to create all Ship Docs for all orders at the same time.
Alternatively, click the Marked As Filled button to create a Ship Doc one at a time.
- *Ship Doc - This will become available after the Ship Doc(s) is/are created.
*To access the Ship Doc created, click the Ship Doc number under Ship Doc section. You can also click View PDF to see or print the Ship Doc.

At this point, the Ship Docs are marked as ‘picked’ and get released to Ship Station.
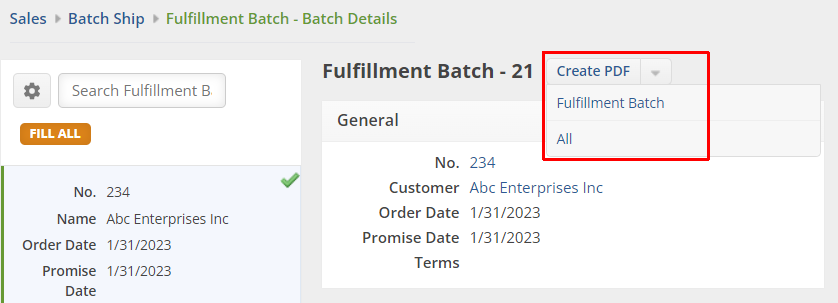
Creating a PDF File for your Fulfillment Batch
Click the Create PDF picklist next to the Fulfillment Batch number.
- Select Fulfillment Batch to print the fulfillment batch form one at a time.
- Select All Fulfillment Batch to print the fulfillment batch form for all orders.