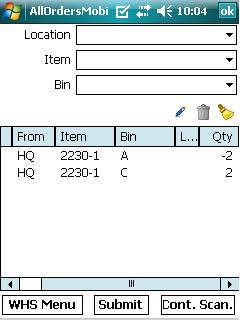
The Move Bins functions allows you move inventory from one Bin to another Bin in a given location. Ultimately this function will result in one or more internal Quantity Adjustment transactions in Order Time.
Click the Move Bins button from the Warehousing Menu. On the following screen you will select the Location from the drop down list you will also scan or type the Bin FROM which you want to move the inventory. Check the Move entire bin box if you want to move the entire contents of the bin to a another bin. Select one of your locations then click Next.
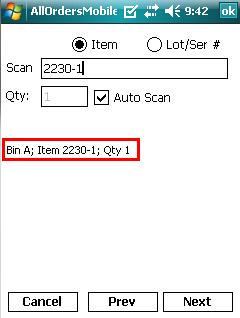
On the next screen you will start to scan the items you want to move. This screen is very similar to what we have already seen in Warehousing and Adjust. In this example I want to move 2 units of Item 2230-1. The screen below shows that I already scanned it once and just about to scan the second time. After which I press the Next button. Clicking the Prev button at this stage will make you start over and you will lose the scans you made.
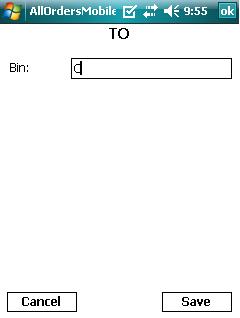
On the next screen you simply scan or type the Bin you want to move the inventory TO. Click Save to save your scan to the Pending Adjustments List.


