Magento
Magento is an eCommerce software that provides extended and enterprise-class features. Magento is the 'front end' application where your customers can view your products, place orders and monitor order status and Order Time is your 'back-end' system where orders, inventory and shipments are managed.
Generating Connection Credentials
Below are the steps for getting Magento connection credentials:
Magento Version 1
- Log in to Magento.
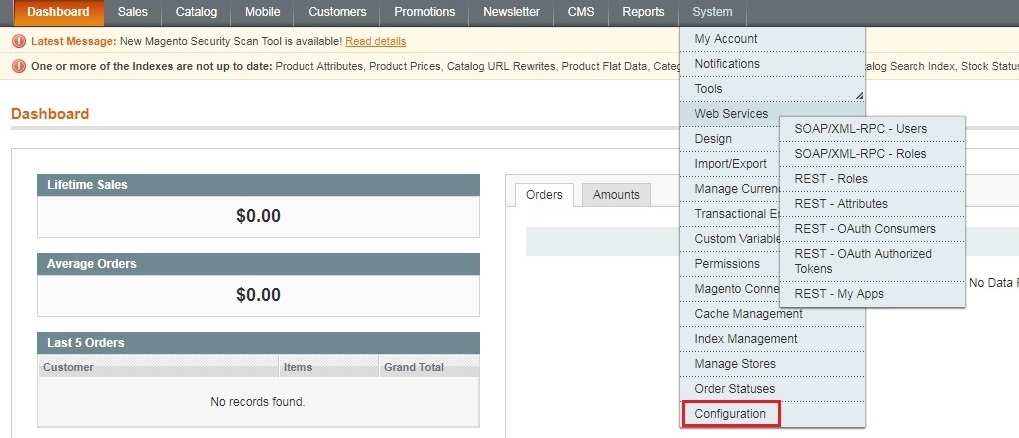
- Click System > Web Services > SOAP/XML-RPC - Users.
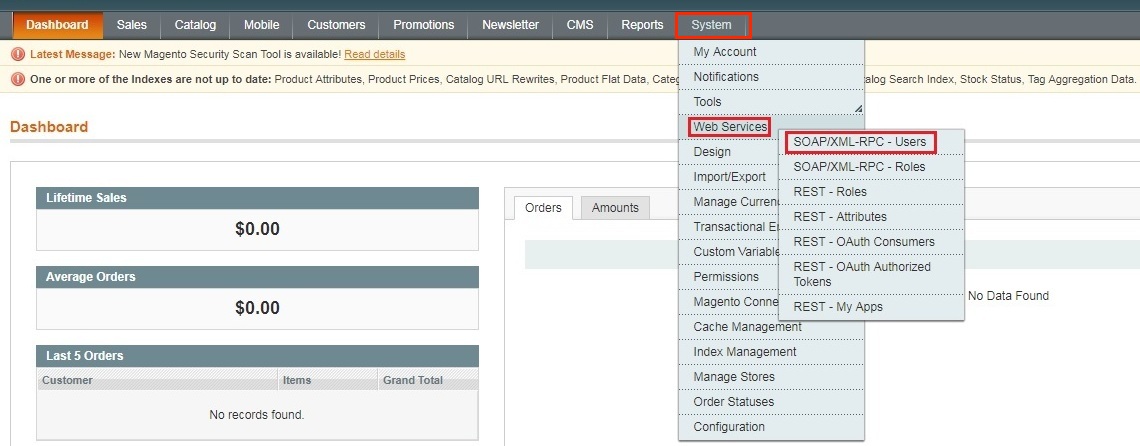
- Click the +Add New User button on the upper right hand corner of the interface.

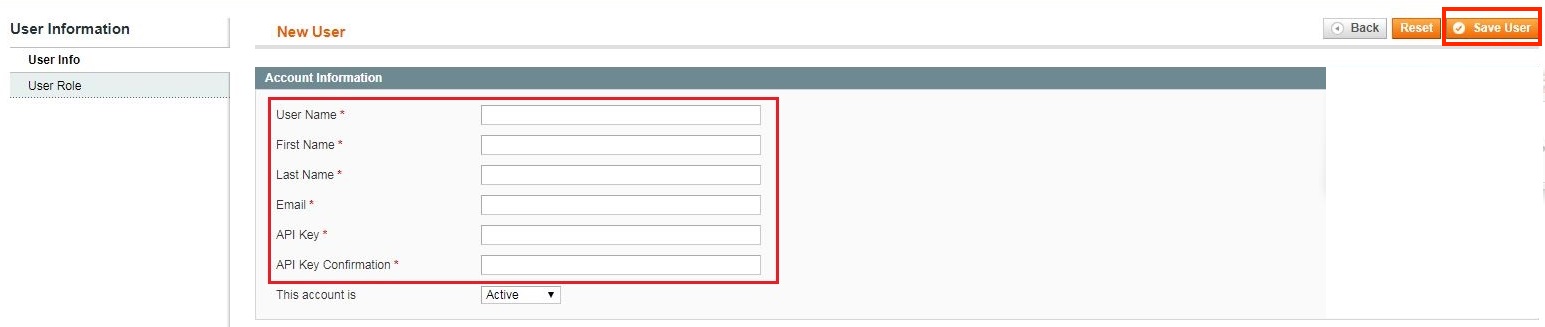
- Provide your Account Information by filling out the required fields. Important: These required fields are user-provided fields. The user assigns the values for these fields. Take note of the values particularly the User Name and API Key because you will use these information (credentials) for adding the connection settings in Order Time.
- User Name
- First Name
- Last Name
- API Key
- API Key Confirmation
- Click the Save User button.
- Click System > Web Services > SOAP/XML-RPC - Roles.
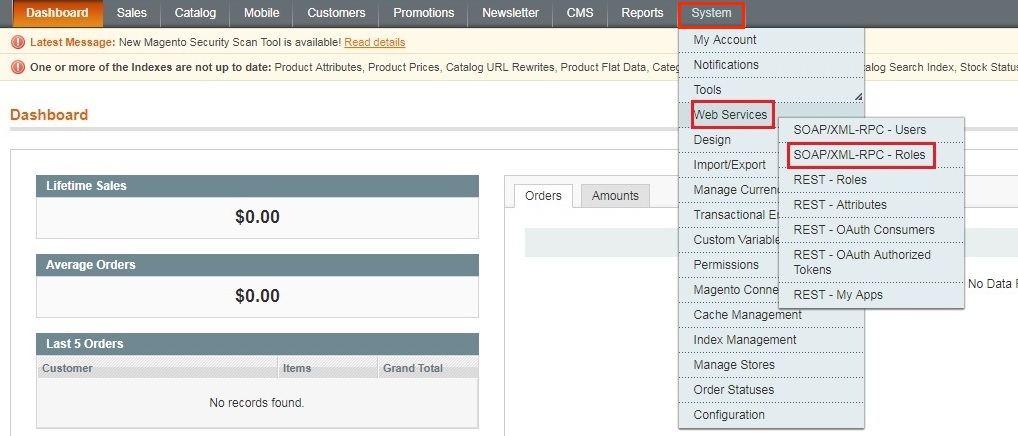
- Click the +Add New Role button on the upper right hand corner of the interface.

- Enter a Role Name.
- Click the Save Role button.

- Select Role Resources on the left side bar of the interface.
- Set Resource Access to All.
- Click the Save Role button.

- Click System > Web Services > SOAP/XML-RPC - Users.
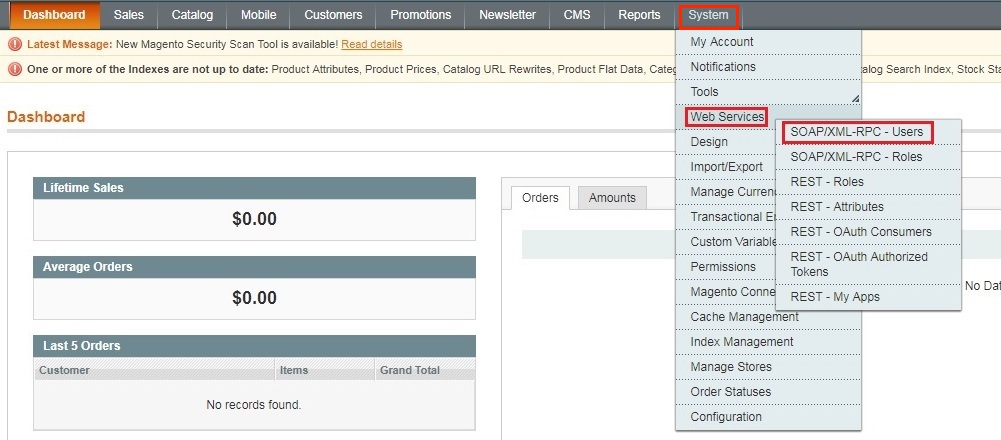
- Select User Role on the left side bar of the interface.
- Select the Role Name by clicking the button under Assigned. Click the Save User button.

- Click System > Configuration.
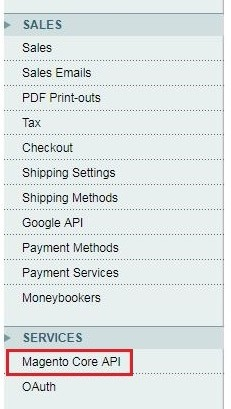
- Scroll down and on the left side bar, select Magento Core API under Services.
- Set the General Settings to:
- Default Response Charset - UTF-8
- Client Session Timeout (sec.) - 3600
- WS-I Compliance - Yes
- Enable WSDL Cache - No
- Click the Save Config button.

- Proceed to adding the connection settings in Order Time.


Adding Connection Settings
To start adding and testing the connection settings:
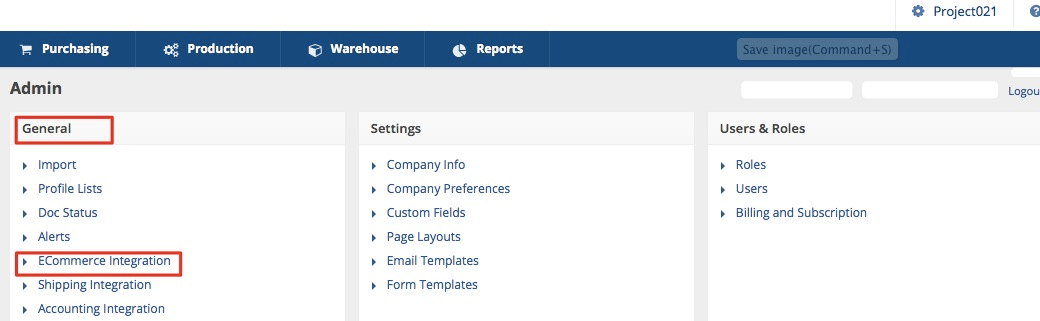
- Click on the Gear icon to access the Admin screen.

- Click Ecommerce Integration under the General section.
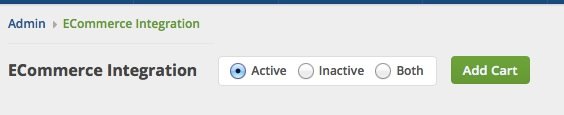
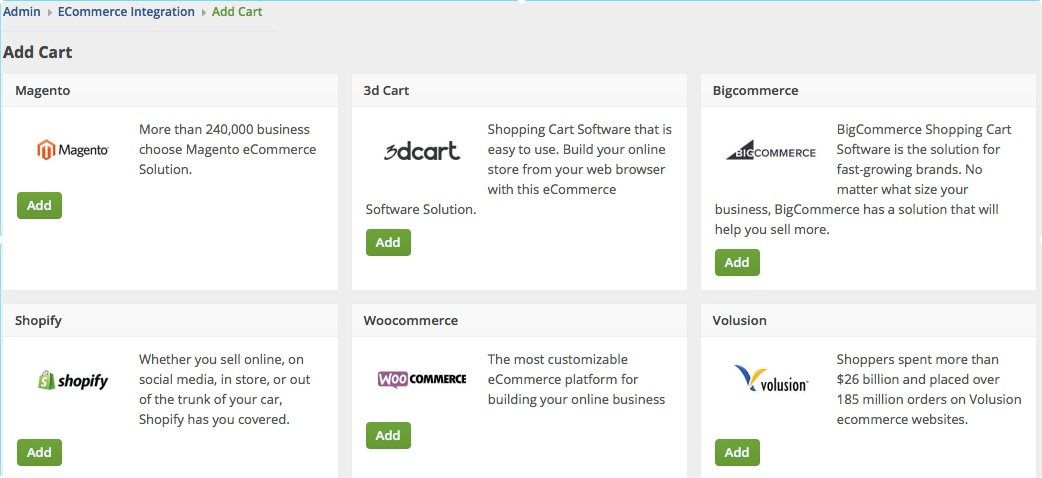
- Select Active and click the Add Cart button.
- Select Magento by clicking its Add button.
- In the ECommerce Integration Editor page, enter and set the connection settings in the General tab.
- Website Name
- Enter or assign a name for your website.
- API URL
- Enter the URL with your website in the API URL: http://www.<yourwebsite>/index.php/api/v2_soap/index/
- For example: http://www.mywebsite.com/index.php/api/v2_soap/index/
- Enter the URL with your website in the API URL: http://www.<yourwebsite>/index.php/api/v2_soap/index/
- Username
- This is the Username you entered in Generating Connection Credentials >Step 4 above.
- Enter the Magento Username in the Username field.
- Password
- This is the API Key you entered in Generating Connection Credentials >Step 4 above.
- Enter the Magento API Key in the Password field.
- Select what you need from the options provided by clicking the corresponding checkbox.
- Select at least one location if you want to limit the inventory to specific location(s).
- Click Test Connection.
- Click Save .


Magento Version 2
- Log in to Magento with your Administrator login credentials.
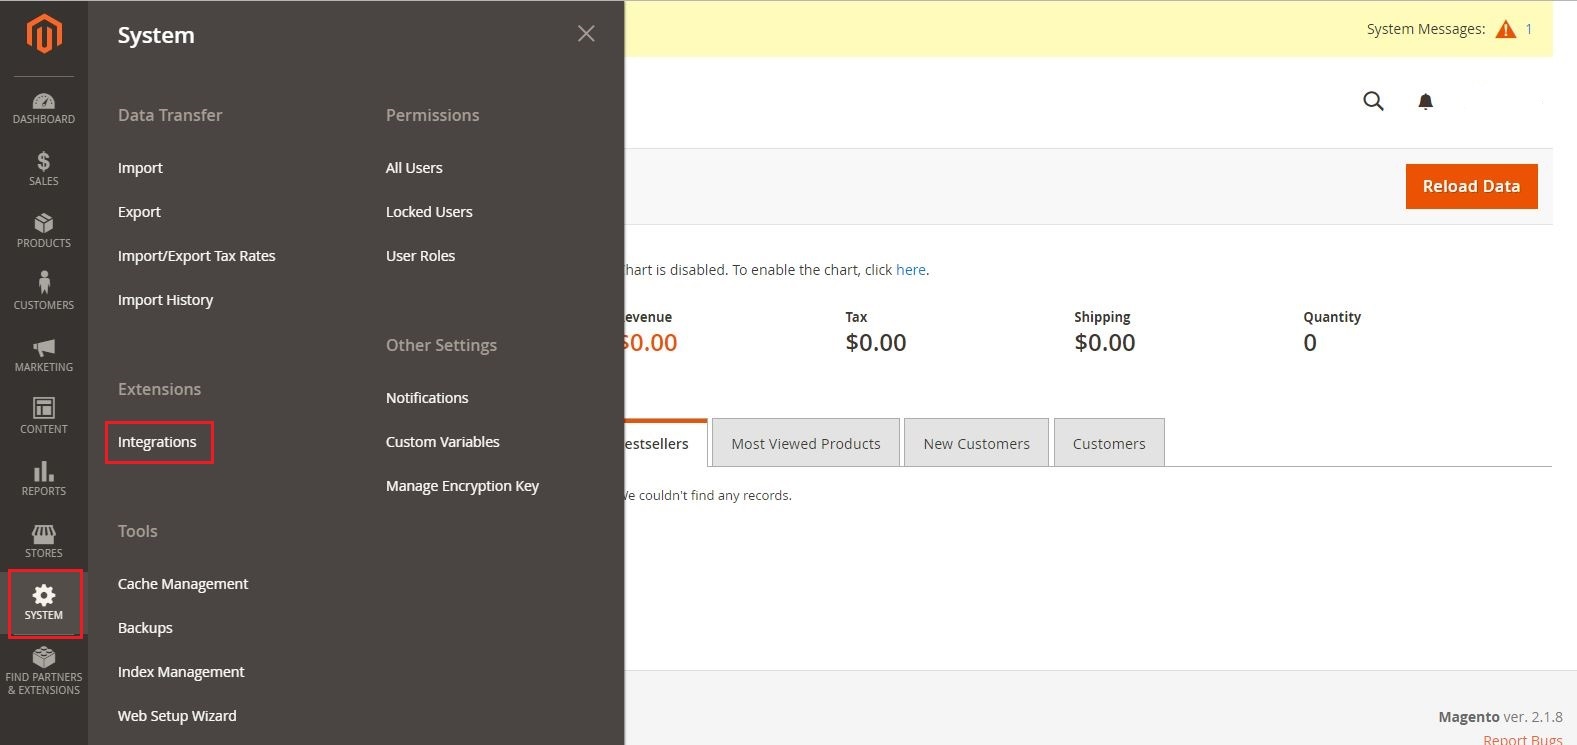
- Click System > Integrations on the left side bar of the interface.
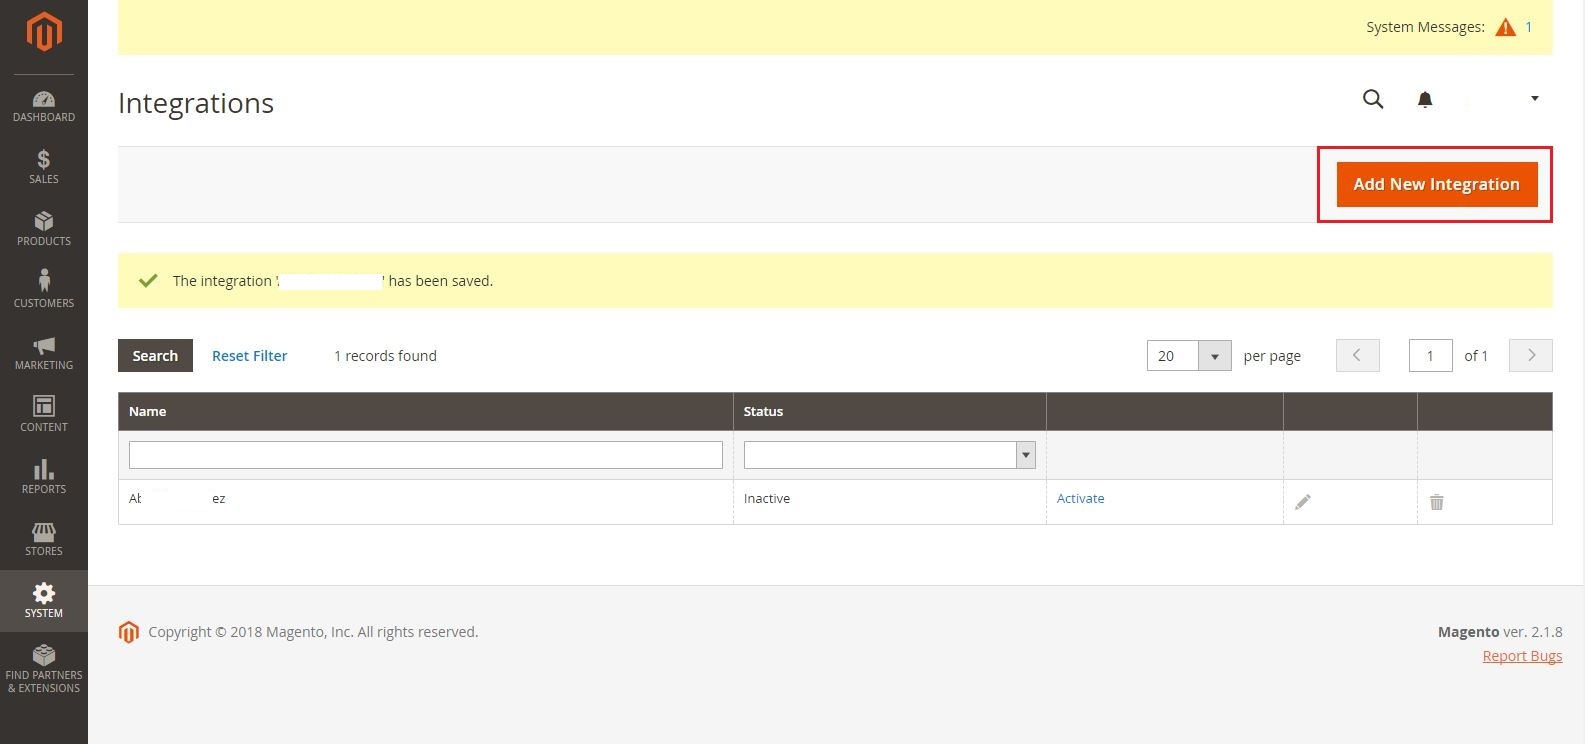
- Click the Add New Integration button.
- Click Integration Info and enter values for the fields:
- Name
- Your Password - This is the same as your login password.
- Click Save.

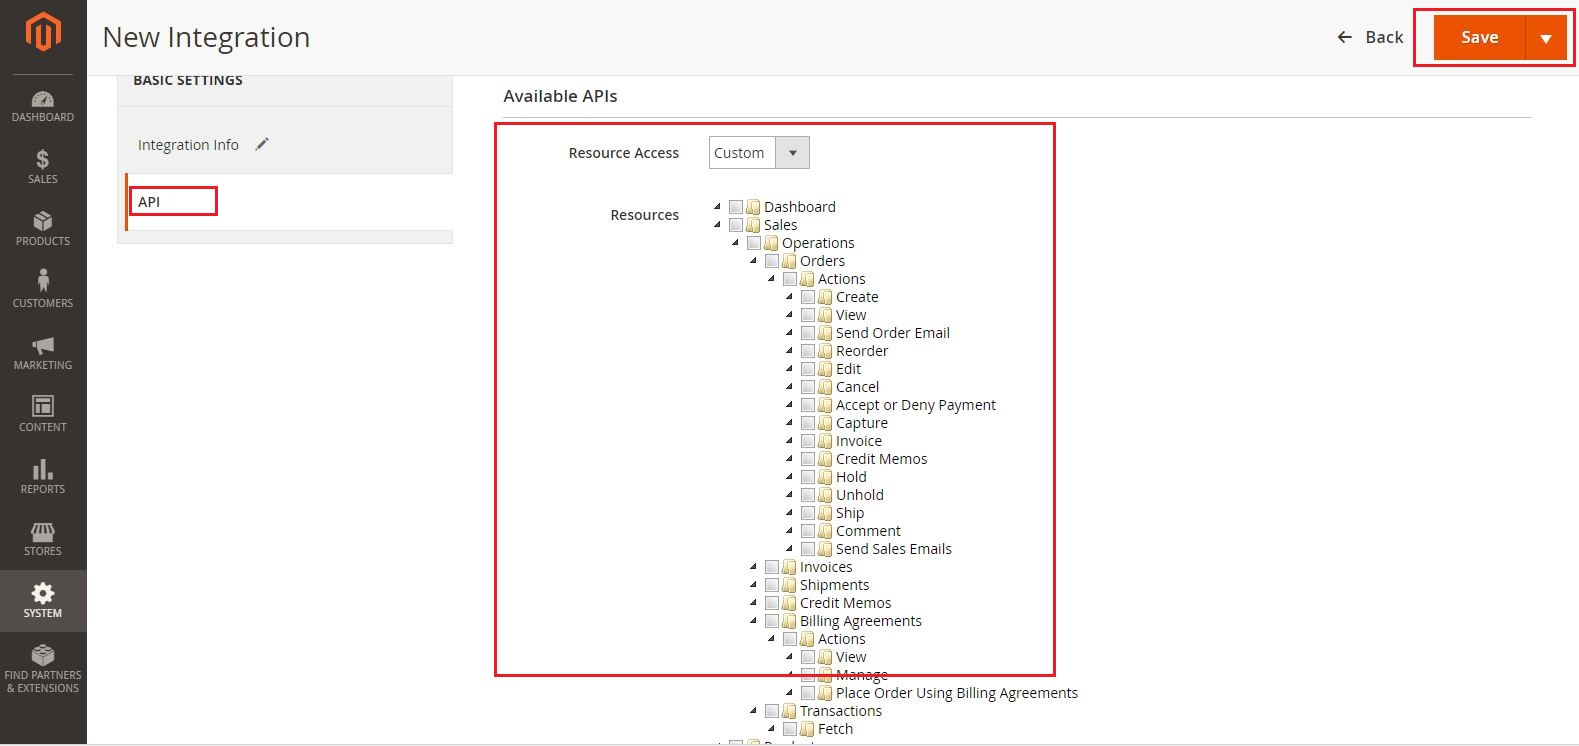
- Click the API tab. Select the Magento resources the integration can access. You can select all resources, or select a custom list. Note: It is recommended to select at least Orders and Shipments for the resources that will be included in integration.
- Click Save.
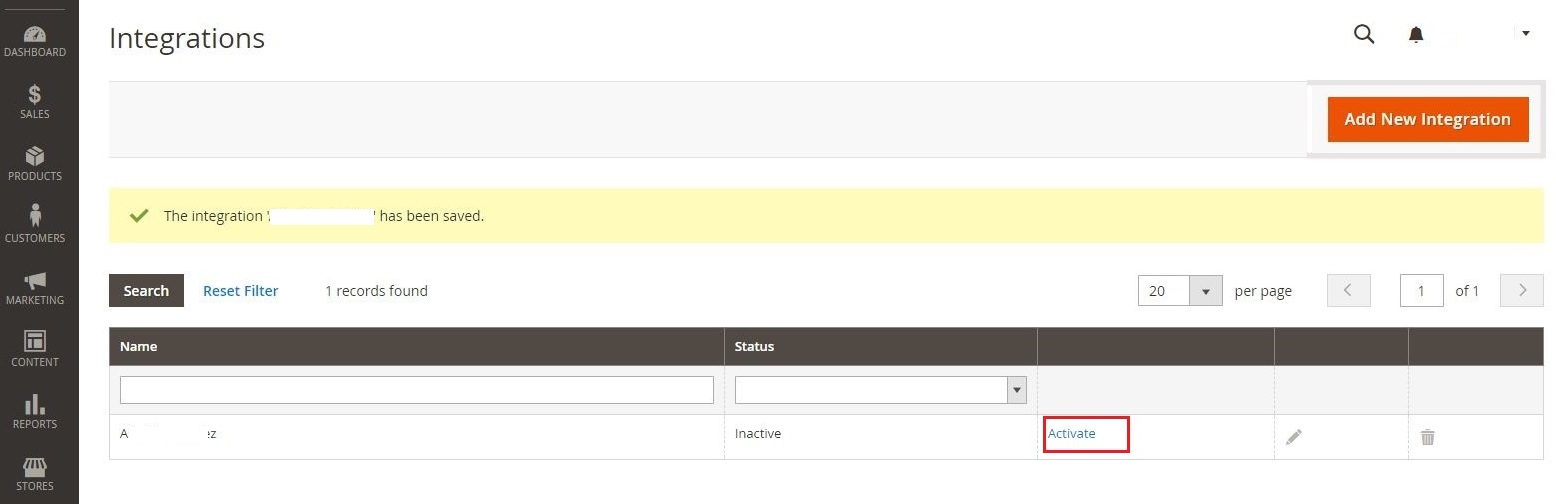
- On the Integrations page, click Activate.
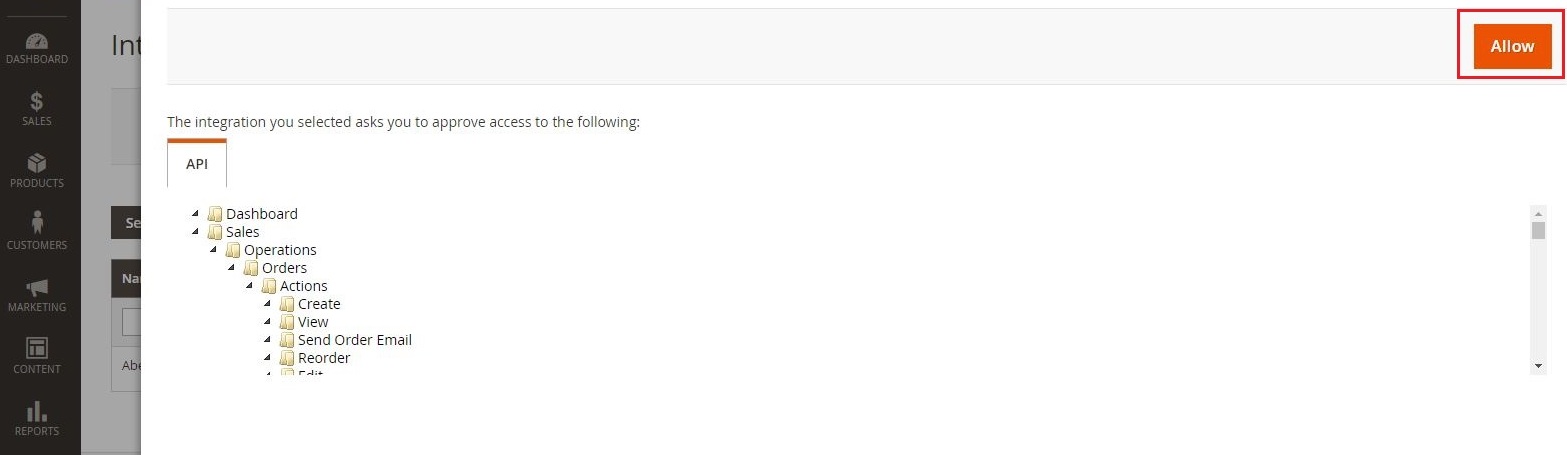
- Click Allow to approve access for the resources you have selected.
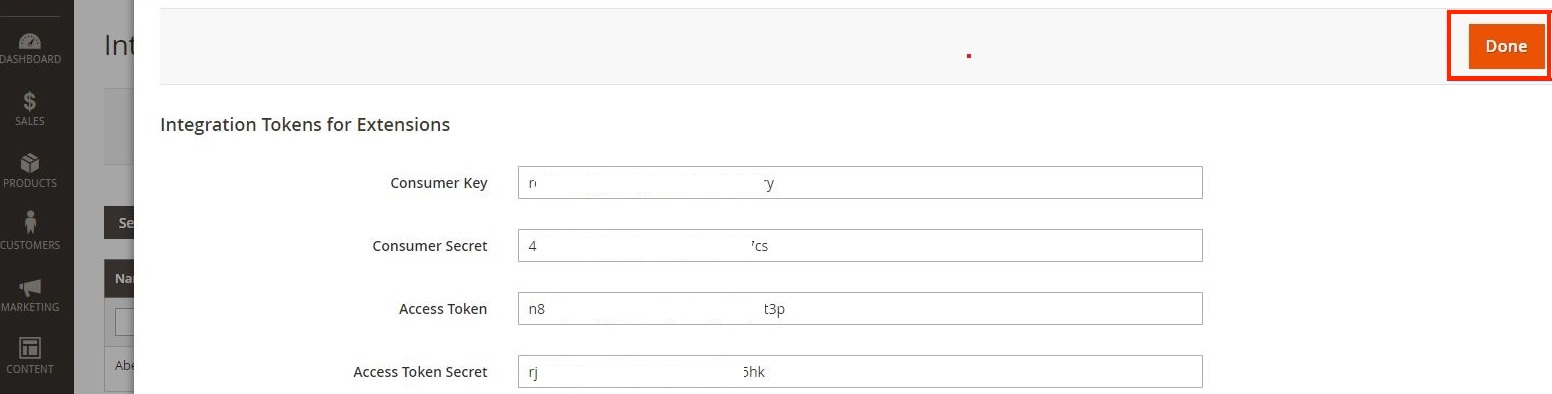
- The Integration Tokens for Extensions will be displayed. Click Done.
- Proceed to adding the connection settings in Order Time.


Adding Connection Settings
To start adding and testing the connection settings:
- Click on the Gear icon to access the Admin screen.
- Click Ecommerce Integration under the General section.
- Select Active and click the Add Cart button.
- Select Magento by clicking its Add button.
- In the ECommerce Integration Editor page, enter and set the connection settings in the General tab.
- Website Name
- Enter or assign a name for your website
- API URL
- Enter the URL with your website in the API URL: http://www.<yourwebsite>/rest/V1/
- For example: http://www.mywebsite.com/rest/V1/
- Enter the URL with your website in the API URL: http://www.<yourwebsite>/rest/V1/
- Username
- Enter the username that you use to log in to Magento V2 in the Username field.
- Password
- Enter the password that you use to log in to Magento V2 in the Password field.
- Select what you need from the options provided by clicking the corresponding checkbox.
- Select at least one location if you want to limit the inventory to specific location(s).
- Click Test Connection.
- Click Save.
