Overview
To process credit cards with the software, you MUST have an open account with a credit card processing company.
Enter a Payment Gateway
Before you begin selling, you need to list all of the payment processing gateways that you have accounts with by entering your log in information for those accounts on the Payment Gateways menu screen (Admin --> Profile List --> Payment Gateway)
The available Gateways are located on the left side of your screen, while the Gateway details appear on the right.
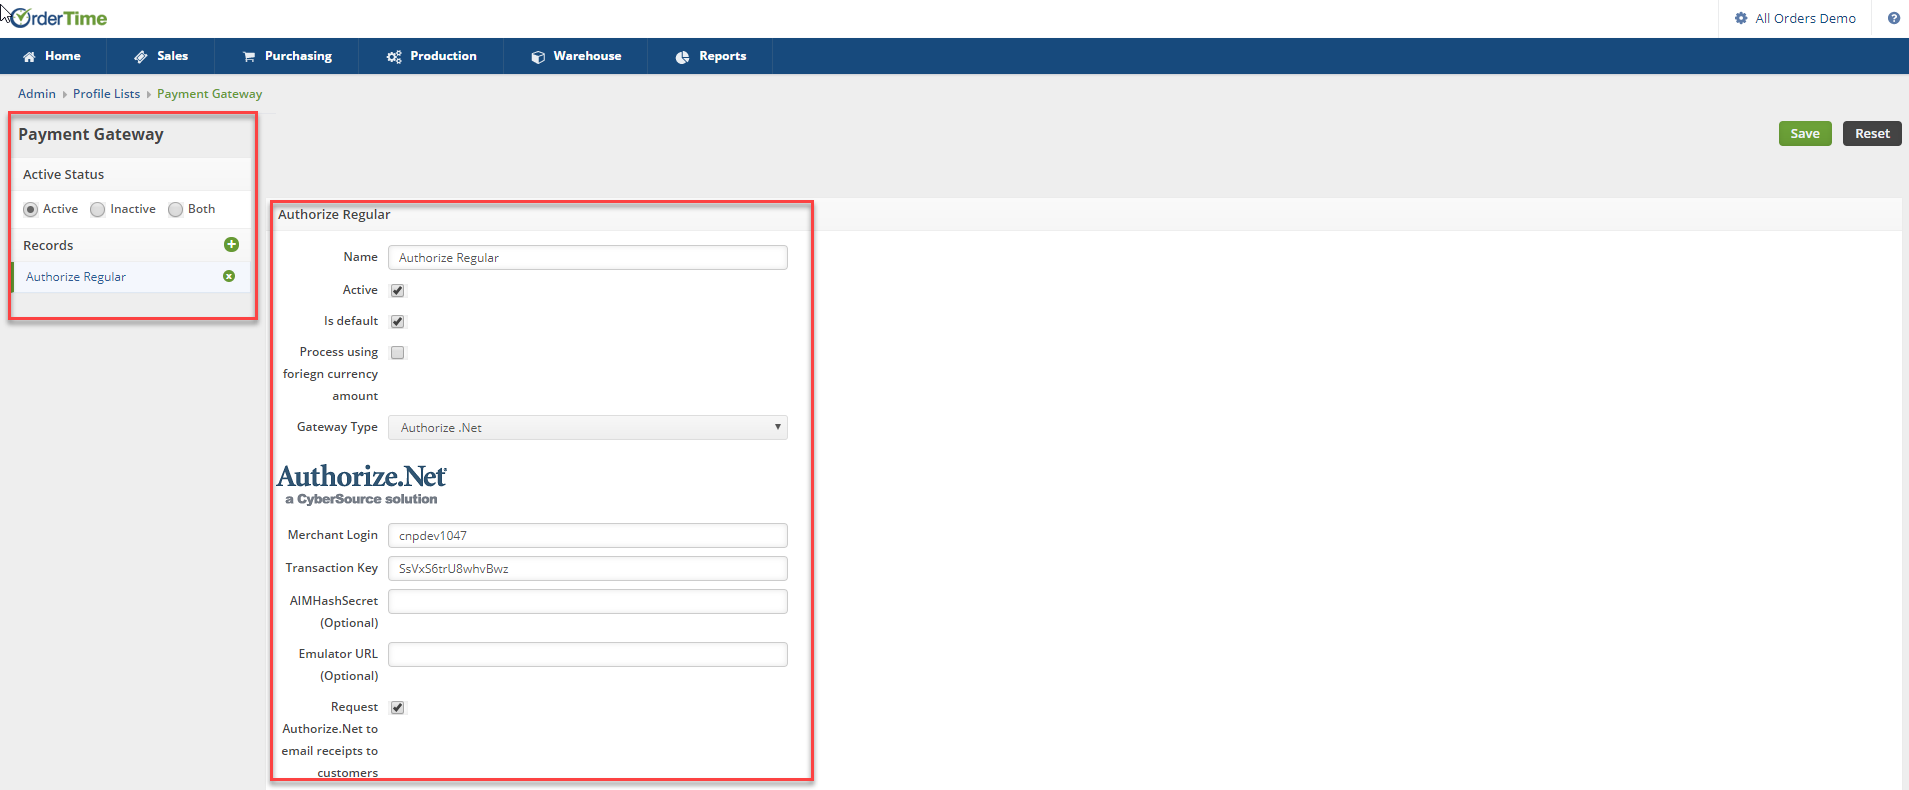
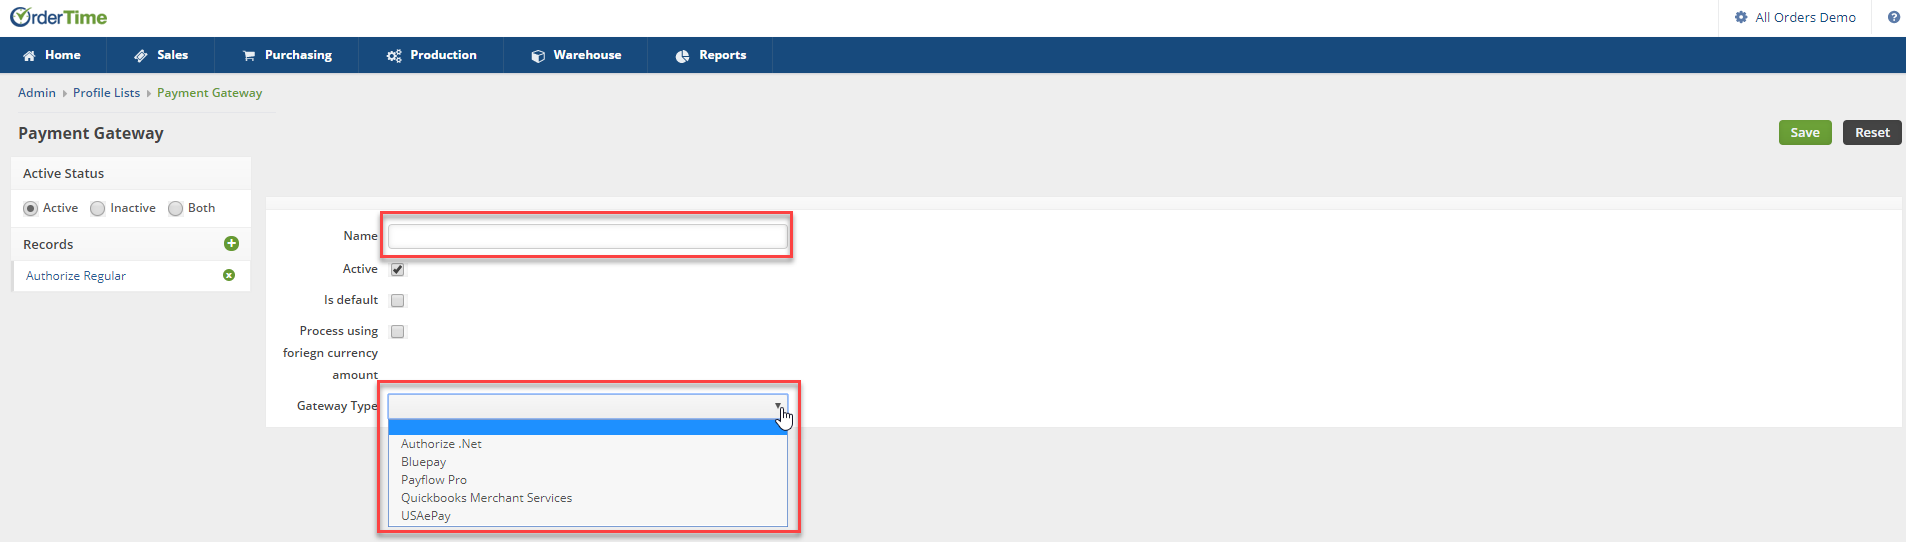
You first need to give the Payment Gateway a Name, Select if the Gateway is Active and if the Gateway is the Default Payment Gateway and then select your credit card processing company (Gateway Type) from the drop down list.
If you have multiple payment gateways, there is an option within the payment entry screen, in the Sales order and Ship Doc, that will allow you to select the gateway when receiving the customer's payment.
Authorize.Net
 Authorize.Net Gateway Settings
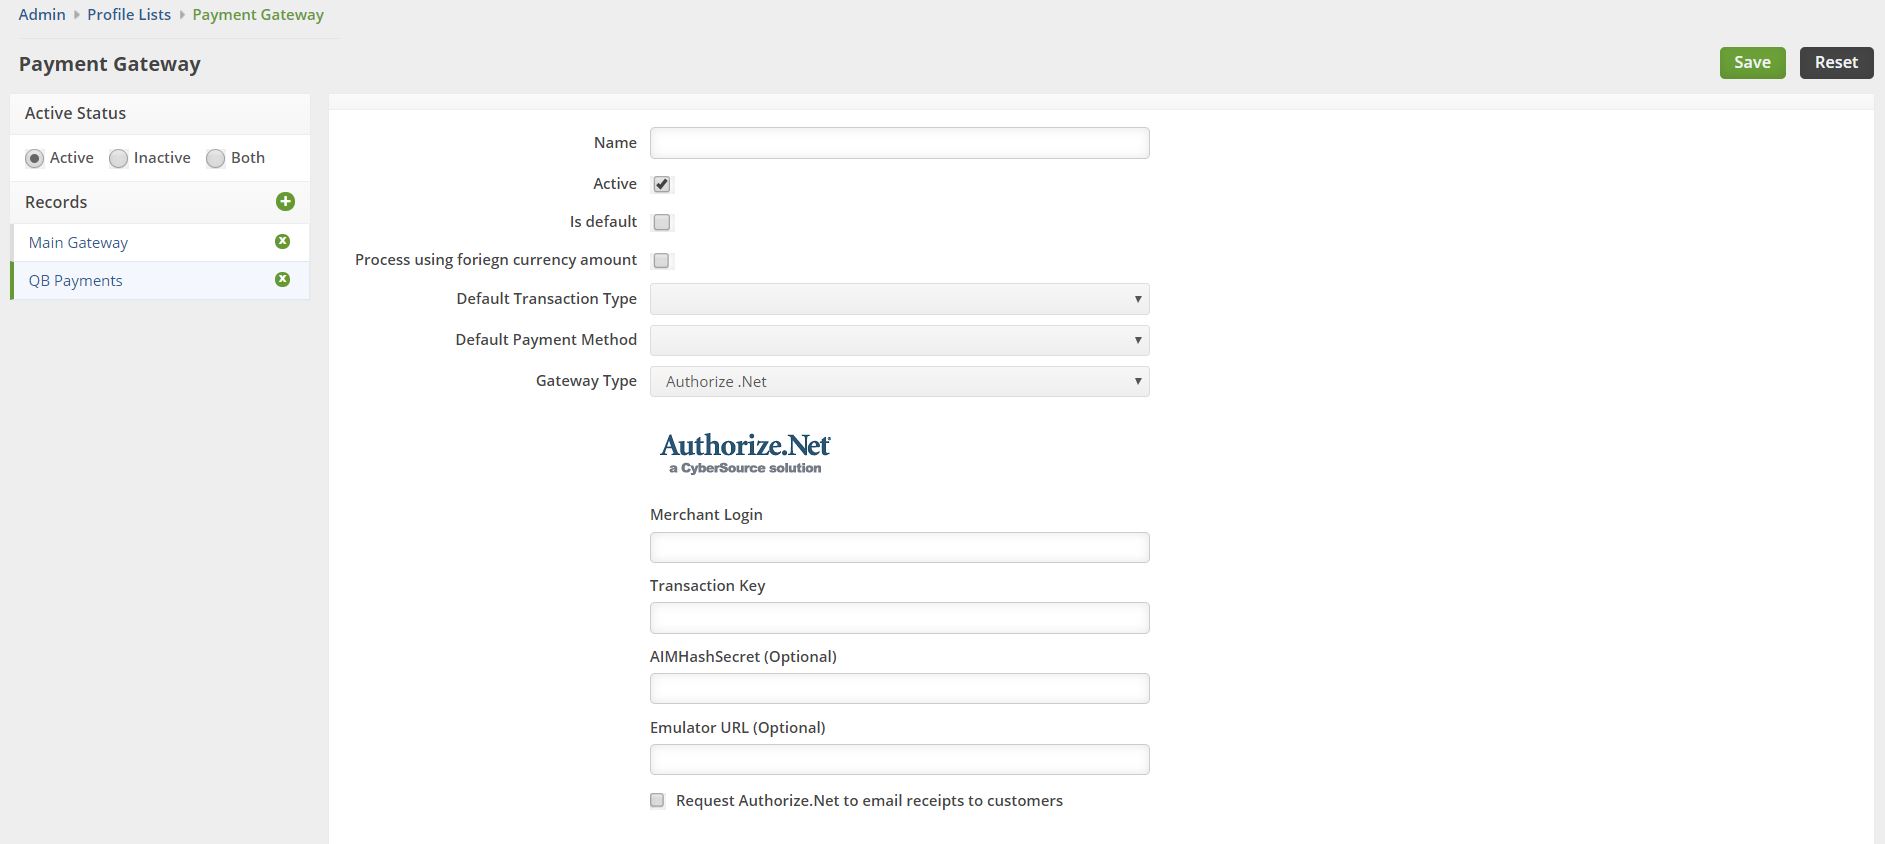
When you select Authorize.net from the Gateway drop-down list, you will be presented with a few things.
Merchant Login
- Your unique API Login ID
- Go into your General Security Settings in Authorize.Net and follow these instructions.
Transaction Key
AIMHashSecret (Optional) - Not necessary
Emulator URL (Optional) - Not necessary
Fill in this information, set your defaults, and hit Save!
